
...
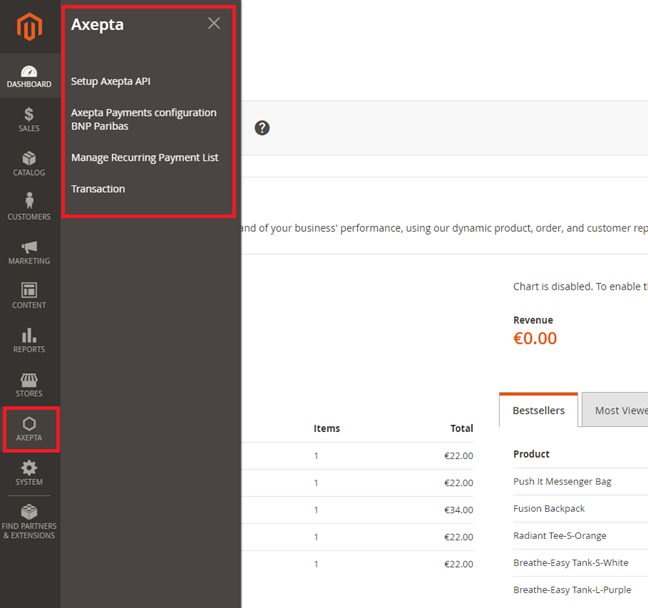
The different functionnalities of the plugin are displayed on the left side of the backoffice. To start the configuration of the module, you need to click on "AXEPTA".
To create the configuration of a new account, click on the link“Axepta Payments configuration BNP Paribas” :
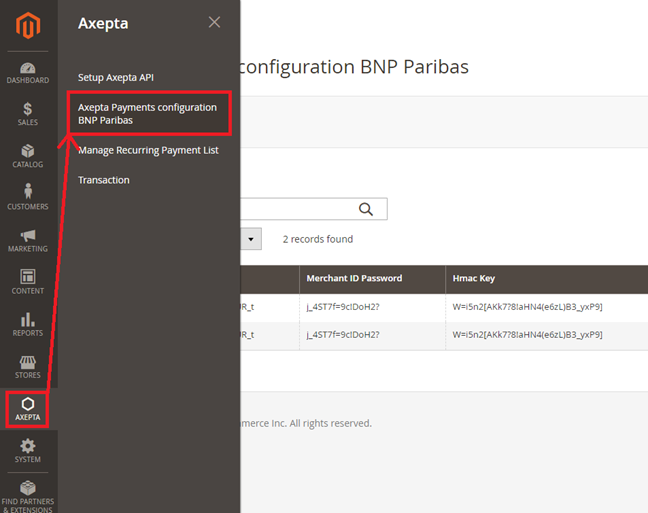

Then, click on the button “Add new Merchant Account” to add information about the new merchant.
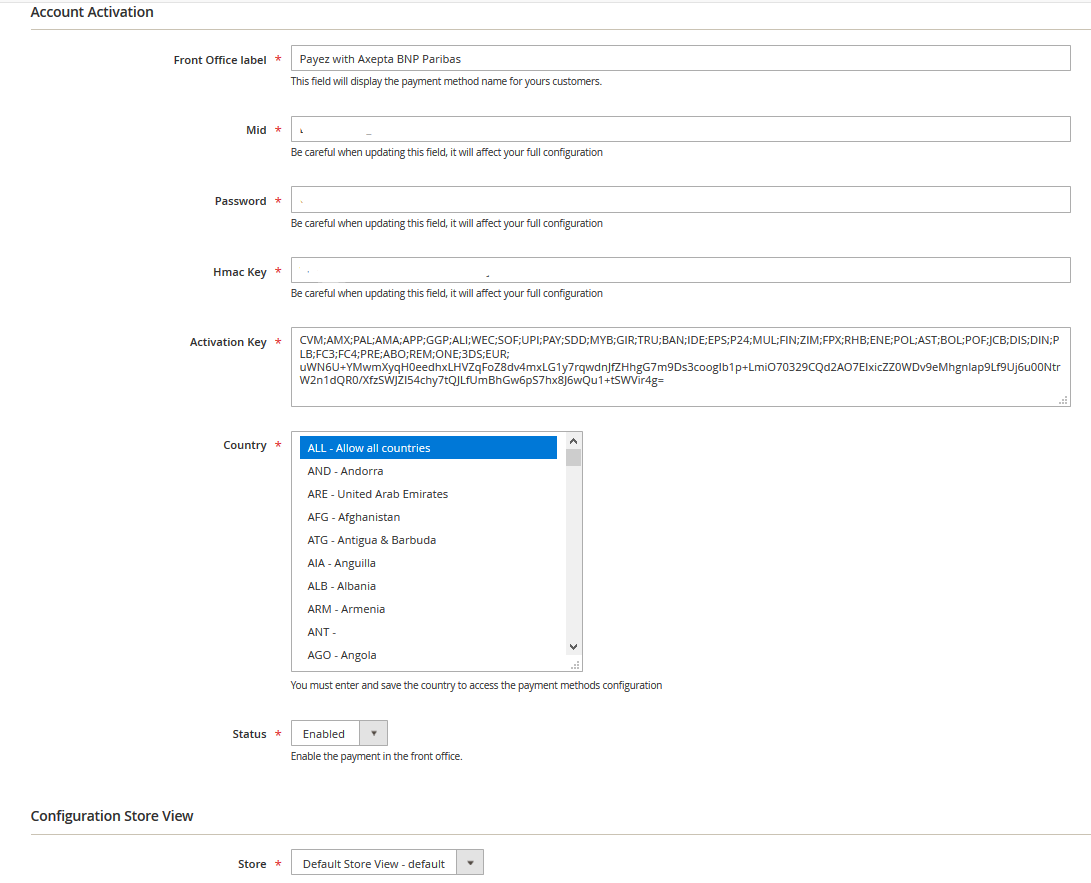
You also need to import the XML file (that you will find in the .zip file downloaded) by clicking on the "import XML" button.

Fulfill the following fields of the form with the information provided by mail:
...
7 - Enable / disable account
8 – Default shop
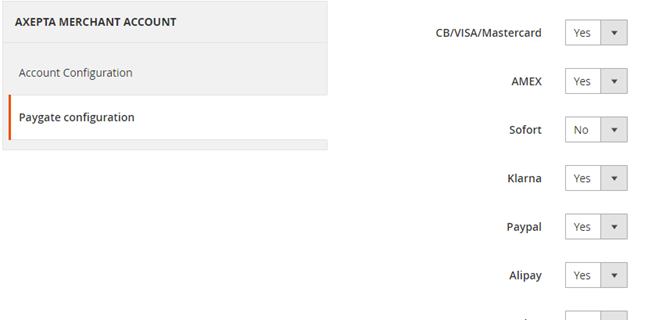
You can, now, choose the different payment methods you would like to allow in your shop.
The tab “Paygate Configuration” will appear on the left side of the screen below "Account configuration".
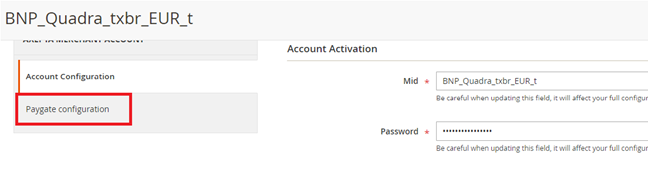
The payment methods which are displayed are the ones corresponding to your activation key.
Payment methods which are in grey don't belong to your offer, you can visualize your complete offer to see what does your e-commerce platform features.
Some payment methods can be disabled when the countries where they are authorized are not enabled in the backoffice. To enable one or many countries, you should click on the tab “Stores” > “Configuration” > “General” and enable the needed countries by selecting them.
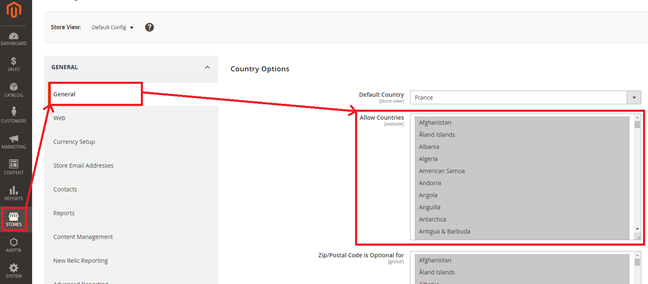
You will have to use the "Axepta" button to go back to the payment methods configurations.
...
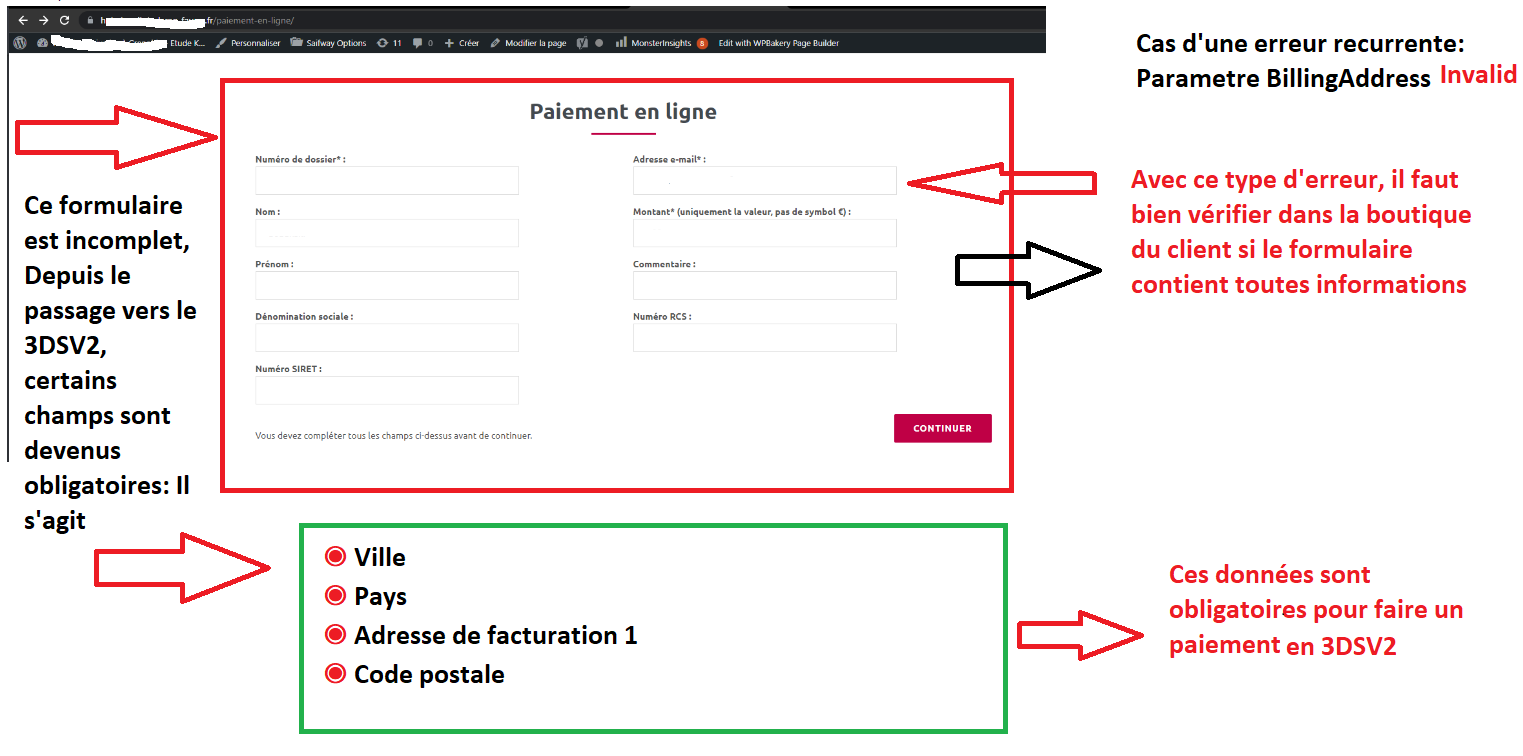
These fields are mandatory for the module to function properly and must be present in the payment form:
One click payment:
...