Summary
| Table of Contents |
|---|
Introduction
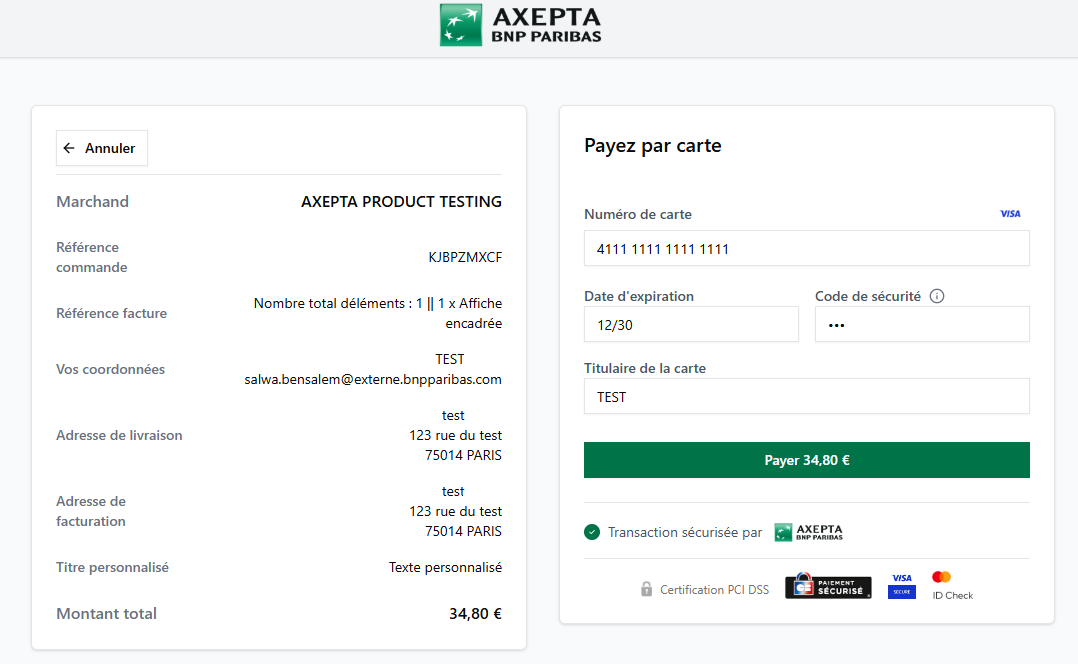
Welcome to the AXEPTA BNP Paribas module documentation for PrestaShop
This free module allows you to easily integrate our online payment solution into your e‑commerce store.
This documentation will guide you through the installation, configuration and use of the module, ensuring a simple, reliable integration that fits your needs.
| Info |
|---|
The module is available for free at the following address: GitHub - AxeptaBNPParibas/AxeptaOnline-Prestashop-plugin: Axepta Online plugin for Prestashop · GitHub |
Must have
You must have a fully functional PrestaShop installation.
| Tip |
|---|
Make sure that your PrestaShop and PHP versions are compatible with the Axepta Online module. You can find the compatible versions here :GitHub - AxeptaBNPParibas/AxeptaOnline-Prestashop-plugin: Axepta Online plugin for Prestashop · GitHub |
Plugin Setup
Installation via the PrestaShop interface
For a quick and easy installation, you can download and install the plugin directly from the Prestashop back‑office. Follow these steps:
- Download the module’s ZIP file and extract it.
- In the back‑office, go to the Modules tab (on the left side) → Module Catalog.
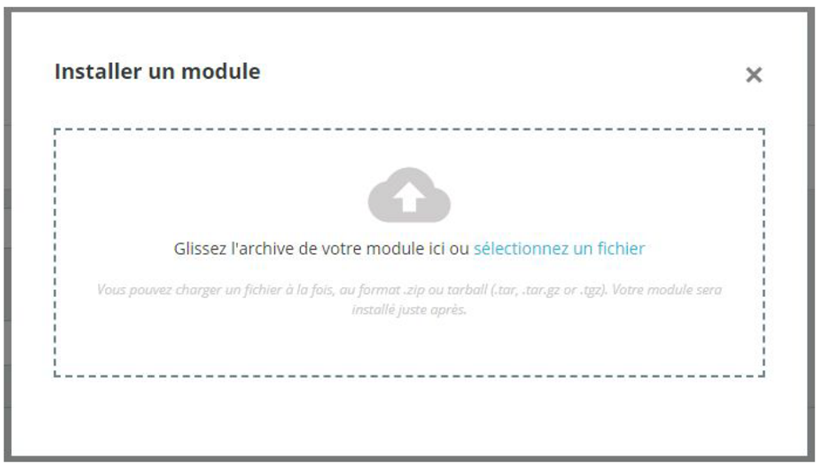
- Click Install a module.
- Upload the ZIP file (by dragging it into the designated area).
- Click the Configure button to start the setup.
The configuration page lets you set the shop’s generic parameters, including whether the shop operates in multistore mode.
| Info |
|---|
In a multi‑store setup, make sure to select the store for which you need to apply specific settings. |

FTP/SSH Installation
If you prefer a manual method or have restrictions on the WordPress interface, you can install the plugin via FTP or SSH by following these steps:
- Download the plugin ZIP file and unzip it on your computer.
- Connect to your server via FTP or SSH.
- Navigate to the
wp‑content/pluginsdirectory of your WordPress installation. - Create a folder named
axepta-bnp-paribas. - Copy all the unzipped plugin files into this folder.
- In the WordPress admin panel, go to “Plugins” > “Installed Plugins” and activate the plugin.
Update Plugin
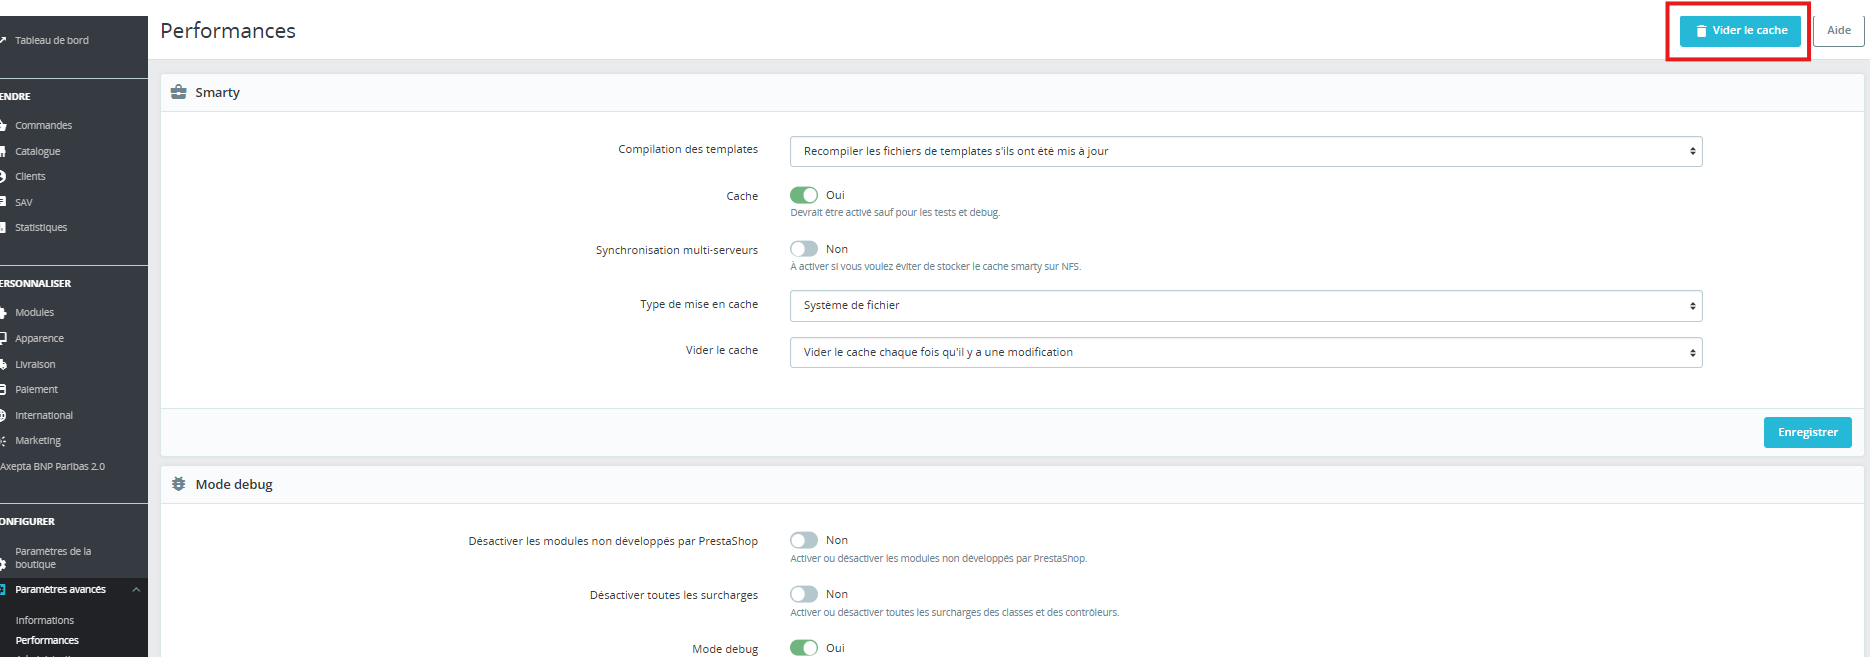
Before proceeding with any installation, we recommend that you fully uninstall the current extension, clear your CMS cache, and verify that the extension has been removed by deleting the module’s installation directory from your FTP server.
Once this is completed, you can install the latest update.
| Info |
|---|
The latest version of the module is available on our GitHub: GitHub - AxeptaBNPParibas/AxeptaOnline-Prestashop-plugin: Axepta Online plugin for Prestashop · GitHub It is updated regularly. Afterwards, remember to complete the Axepta Online configuration settings in each tab of the module. You will need to re‑enter your production MID and your production activation key, which can be found on your BNP Paribas merchant portal. |
| Tip |
|---|
To clear your cache:
|

Back Office
Plugin Global Settings
The module’s features are accessible from the left‑hand menu in the admin interface under “Customize.” To begin the configuration, simply click on the “Axepta BNP Paribas” option.

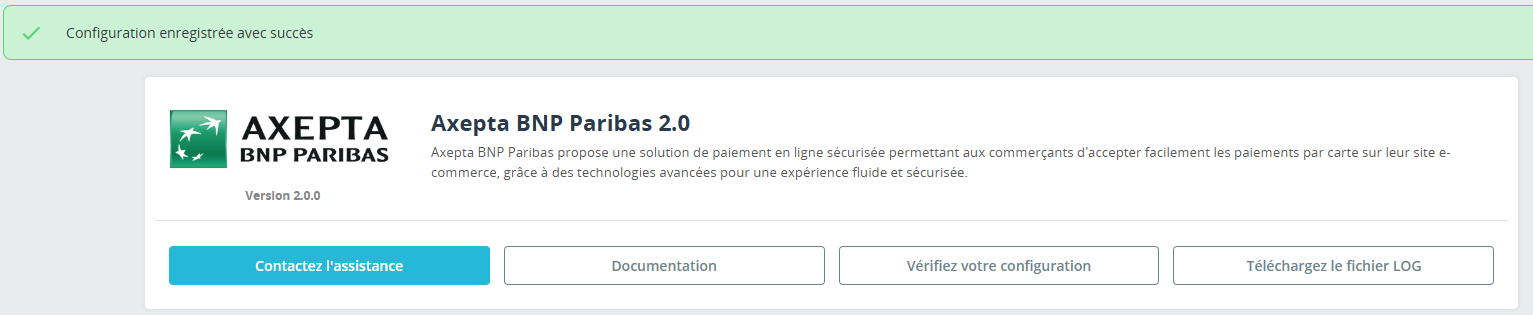
The settings page displays several buttons at the top.
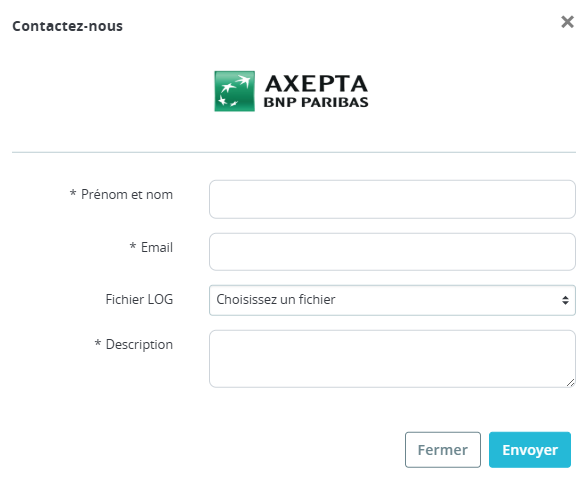
Contact support: Opens an email form to reach our assistance team. This email automatically includes the server, CMS, and module versions.
Documentation Axepta BNP Paribas: Links to the official documentation of the Axepta Prestashop module.
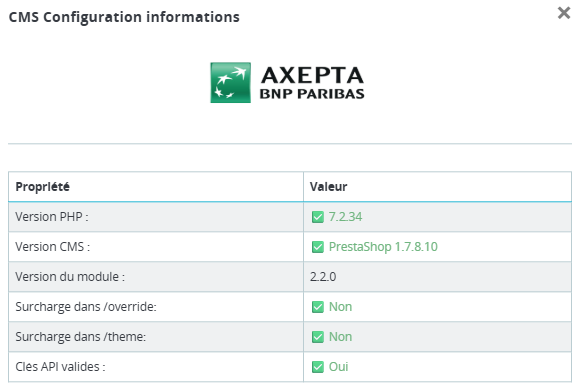
Check your configuration: Allows you to display and verify in a window that the site environment is compatible with the installed module.
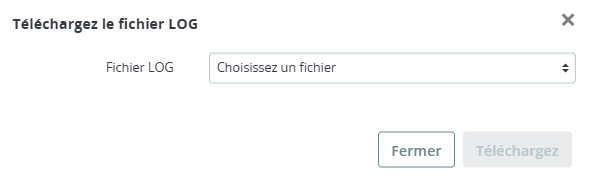
Download the LOG file: Allows you to download the log file associated with the module’s usage.
Account Settings

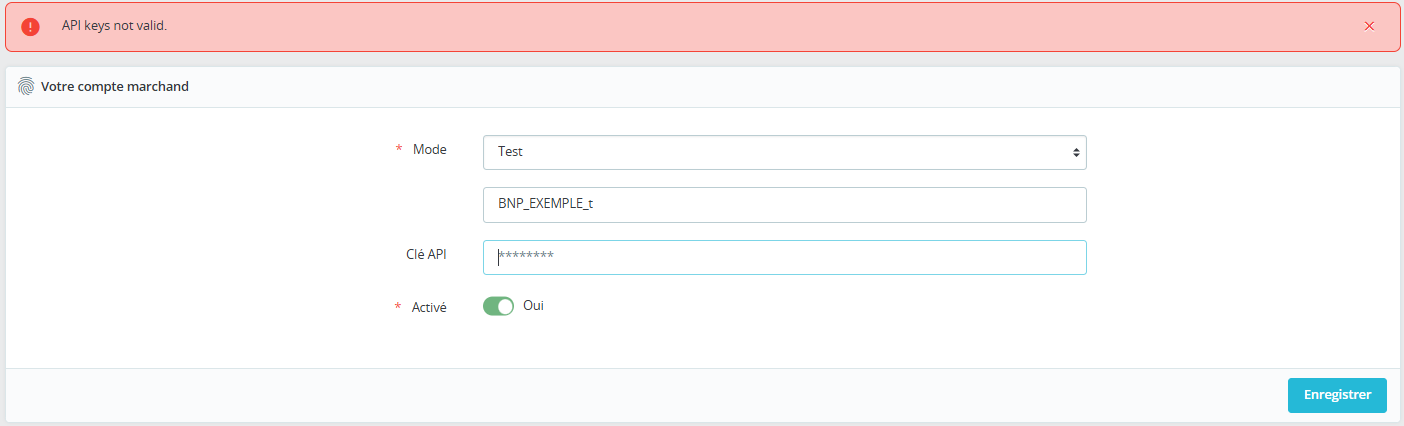
Demo Mode:
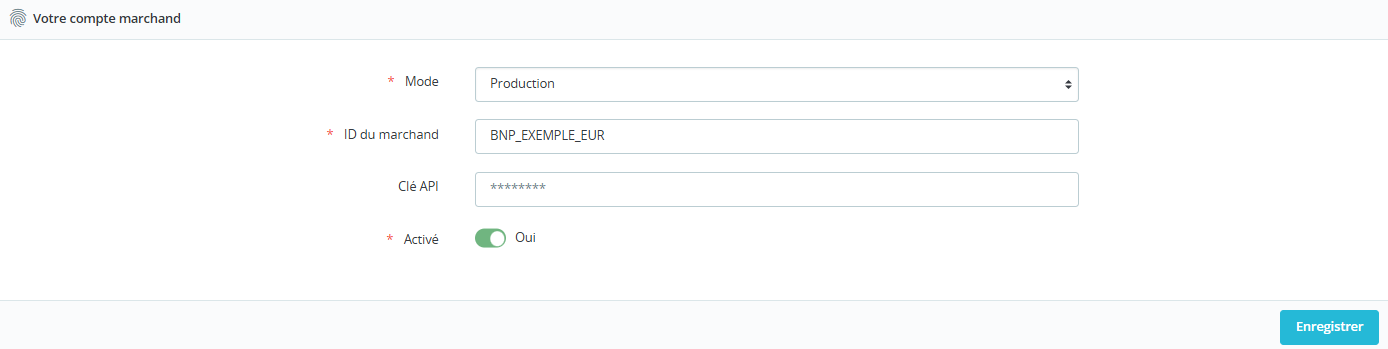
The demo mode (“Demo”) allows you to test the module and its features without needing an Axepta BNP Paribas account.

Test mode
- Test MID (available in the “View API credentials” section of your Axepta BNP Paribas Merchant portal)
- Test REST API key (available in the “View API credentials” section of your Axepta BNP Paribas Merchant portal)
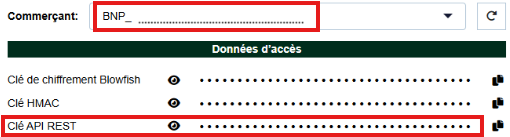
This allows you to configure your dedicated test MID, which is recognizable by the format BNP_MID_t provided through your BNP Paribas merchant portal.
Accès aux identifiants de l’API & HMAC - Documentation Axepta BNP Paribas - Axepta
Production mode
- Production MID (available in the “View API credentials” section of your Axepta BNP Paribas Merchant portal)
- Production REST API key (available in the “View API credentials” section of your Axepta BNP Paribas Merchant portal)
Allows you to configure your dedicated production MID, which can be identified by the format (BNP_MID_XXX) provided in your BNP Paribas merchant portal.
Accès aux identifiants de l’API & HMAC - Documentation Axepta BNP Paribas - Axepta
Front‑end activation:
The module must be enabled in order for the payment methods to appear on the checkout page.
| Warning |
|---|
The elements are saved only when the user clicks the “Save” button. A green banner appears.
Otherwise, the following error message appears in red.
|
Payment Method Configuration
The payment configuration tab allows you to set up multiple features.
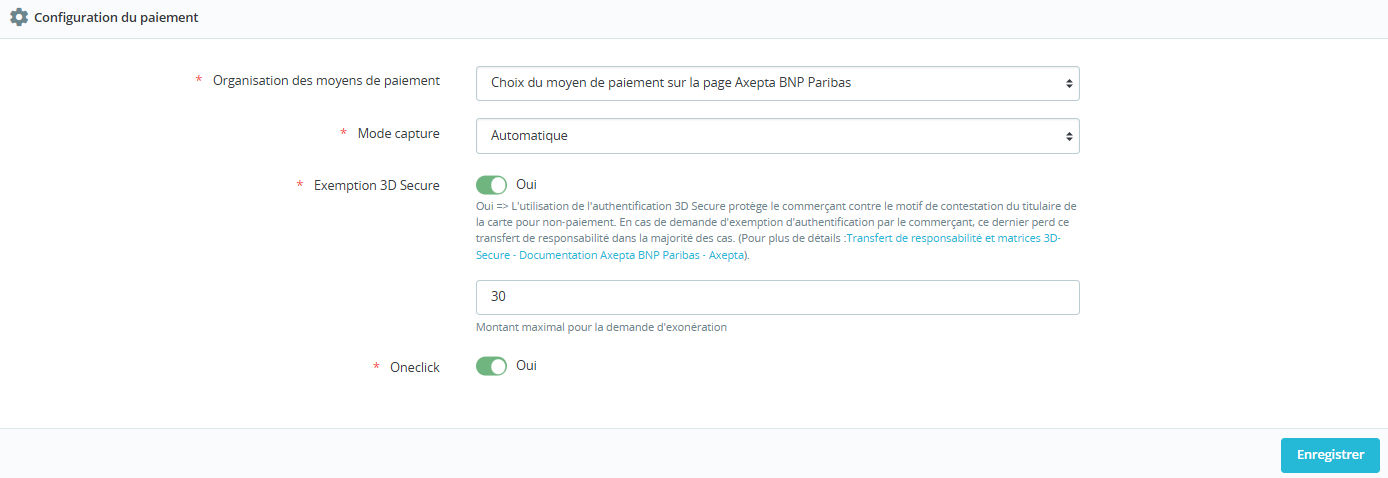
Payment Methods Organization
This setting determines how the payment options are displayed on the checkout page.
Two options are available:
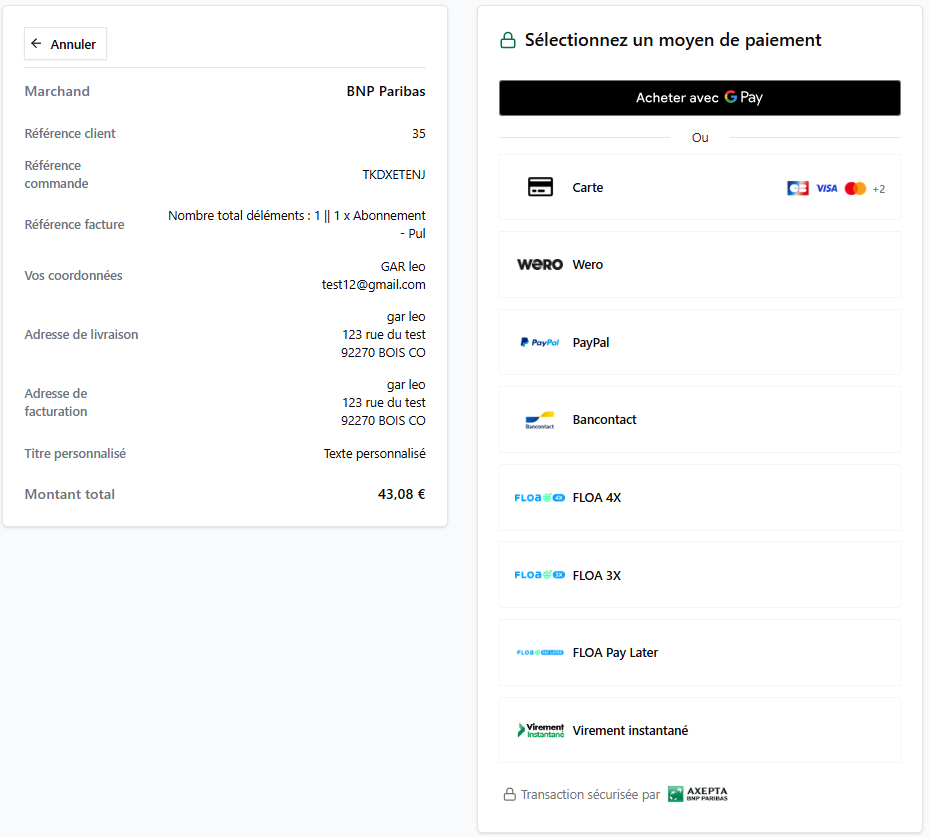
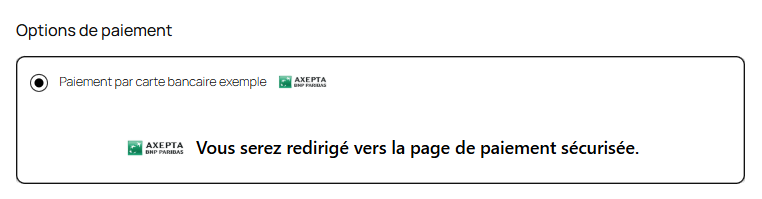
- Choose the payment method on the BNP Paribas page
The customer is redirected to a payment form hosted by BNP Paribas, where they will see all payment methods available on your merchant account.
- Choice of payment methods on the merchant’s website
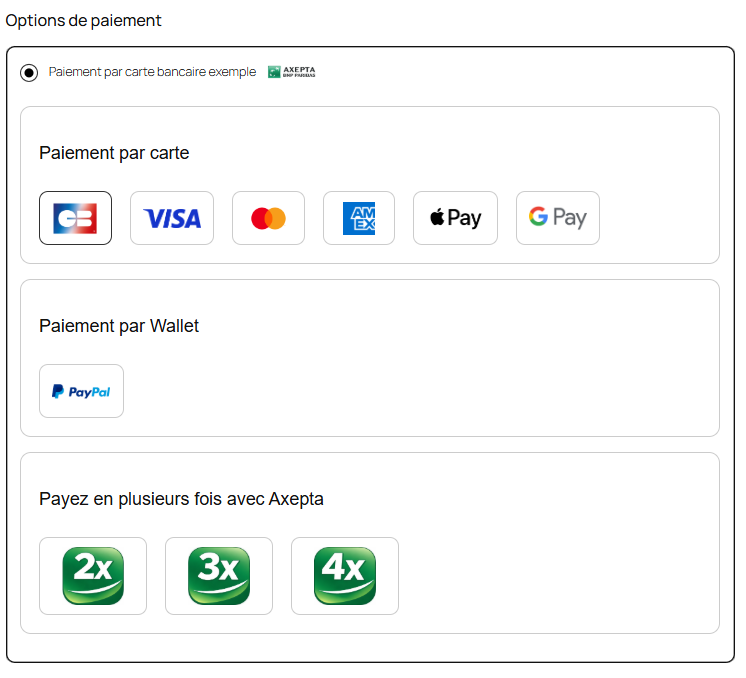
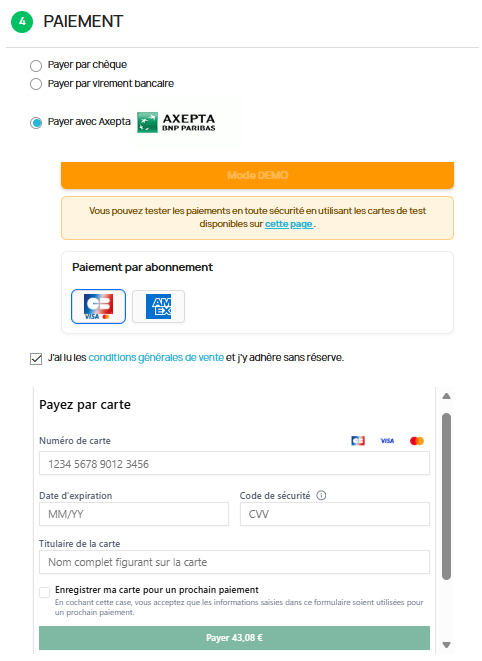
Display mode
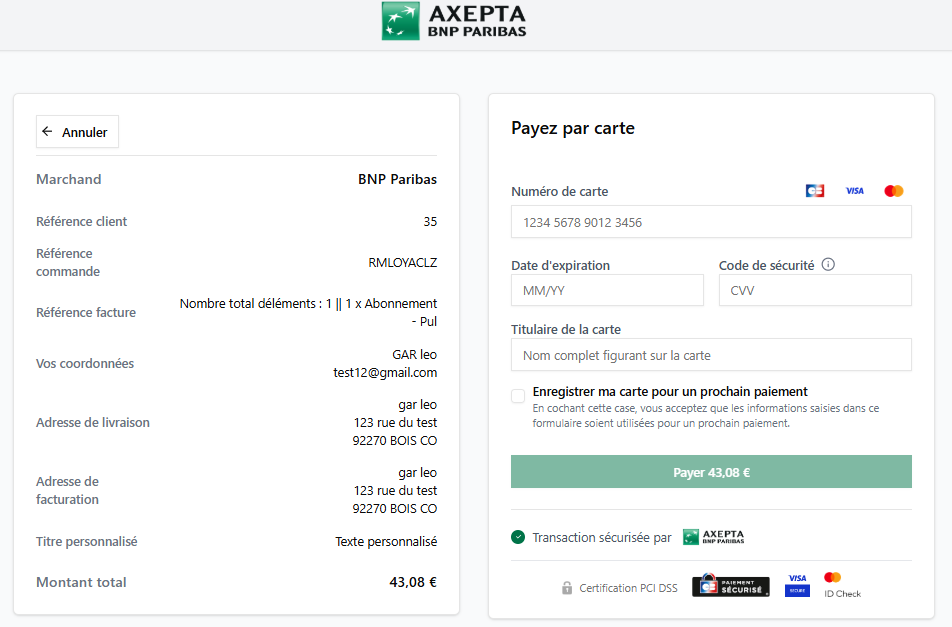
Redirection mode : redirects the customer to the secure payment form hosted by Axepta BNP Paribas.
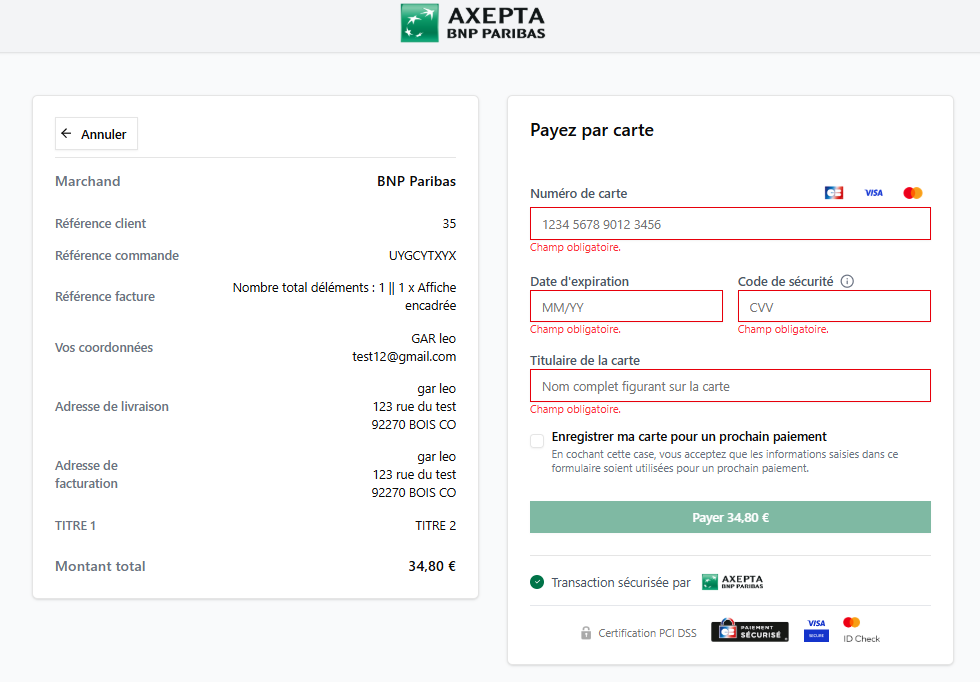
Iframe mode: integrates the checkout page directly into your site.
Capture mode
This option allows you to choose the payment capture method :

Activation of Automatic Capture
Automatic (J): The capture will be performed automatically at midnight.

Activation of manual capture
Manual capture is performed manually by the merchant through a back‑office configuration.

How to capture a transaction manually
- Go to “Customize” > “Axepta BNP Paribas” > “Transaction.”
- You will see the list of processed transactions.
- When you hover over a line that corresponds to a transaction that has not yet been captured, a “Capture” icon will appear in the Action column.

4. Cliquez sur ce bouton pour effectuer la capture du paiement.
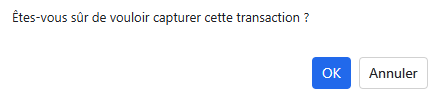
Une fois la capture effectuée, le statut de la transaction sera mis à jour pour refléter l’action.
| Tip |
|---|
You can also access this through:
|


Manual capture notifications
Notifications are displayed when attempting a manual payment capture, keeping you informed about the status of the operation.
- Capture successful: A notification informs you that the capture was completed successfully.
- Capture already performed: If the transaction has already been captured, an alert indicates that the capture cannot be re‑executed.
- Capture failed: In case of a capture failure, a detailed notification explains the reason for the problem and guides you on the next steps.
These notifications allow you to precisely track the status of each transaction and act accordingly.
| Warning |
|---|
Warning: Without the merchant’s action, the transaction will not be settled to the bank. Capturing a transaction after the 7th day results in the loss of the guarantee associated with 3‑D Secure. After the 29th day, the authorization granted by the issuer is no longer valid. Therefore, it is advisable to capture the operations before these deadlines. |
3DS exemption
Corresponds to the configuration of 3DS (the payment authentication method) and its exemption based on the total amount of the customer’s cart.
| Warning |
|---|
Activating the 3‑D Secure exemption request means you accept responsibility for any fraud or disputes on the affected transactions. This feature should be used with caution. You can find the various liabilities in case of non‑payment on our dedicated page: Liability Shift and 3D-Secure Matrices - Documentation Axepta BNP Paribas - Axepta |
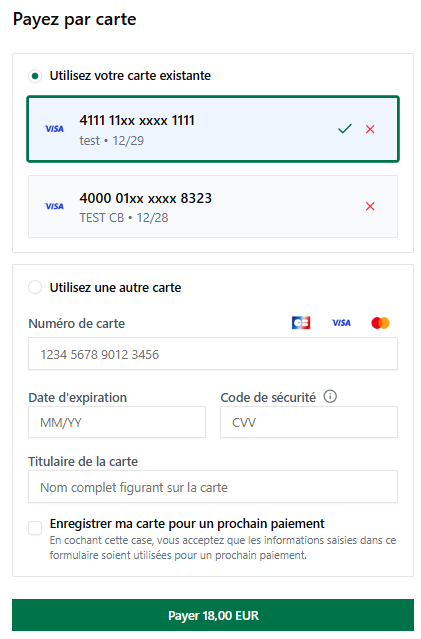
One-click activation
Activating this feature allows logged‑in customers to save their card for future payments.
To do so, the customer must first tick the option to store their card on the payment page.
Payment Methods
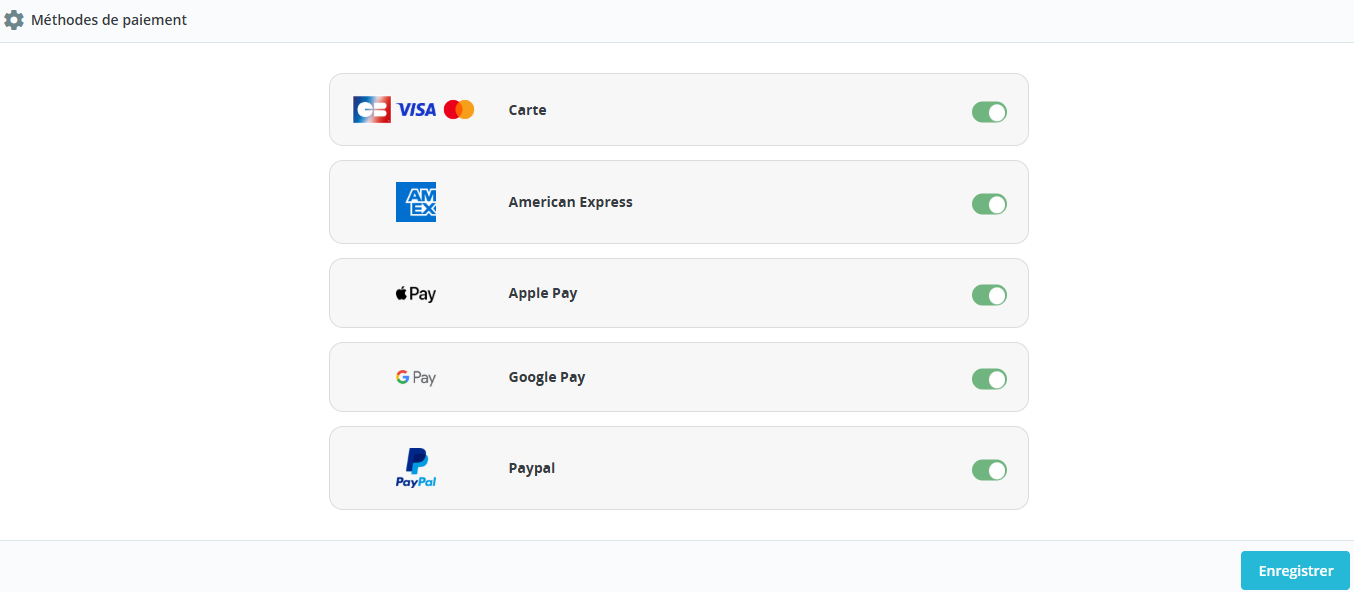
You can enable or disable the subscribed payment methods in the "Payment methods" tab.
| Info |
|---|
If CB‑Visa‑MasterCard is enabled, the CB logo will appear only when the order’s shipping country is France. |
Customization
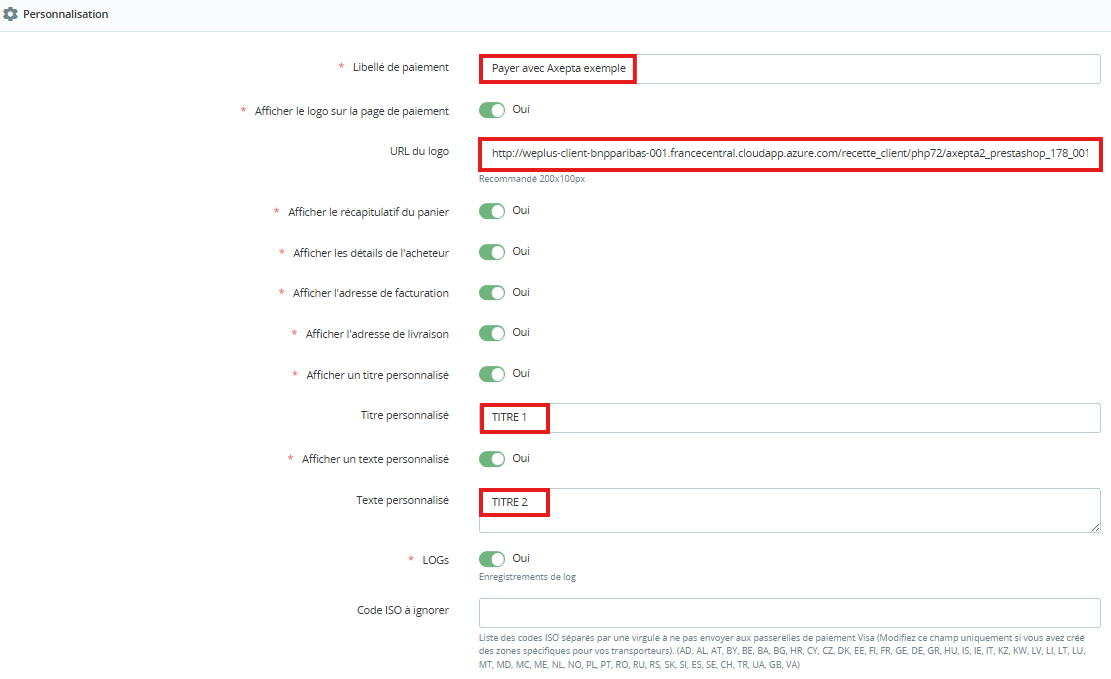
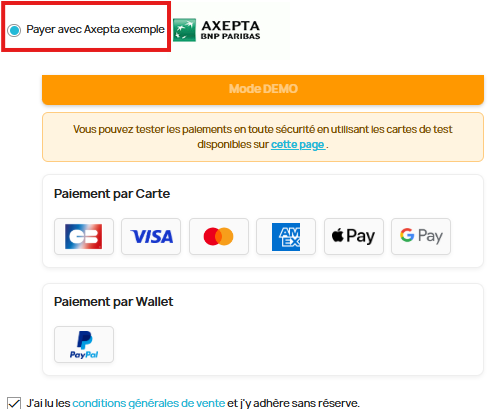
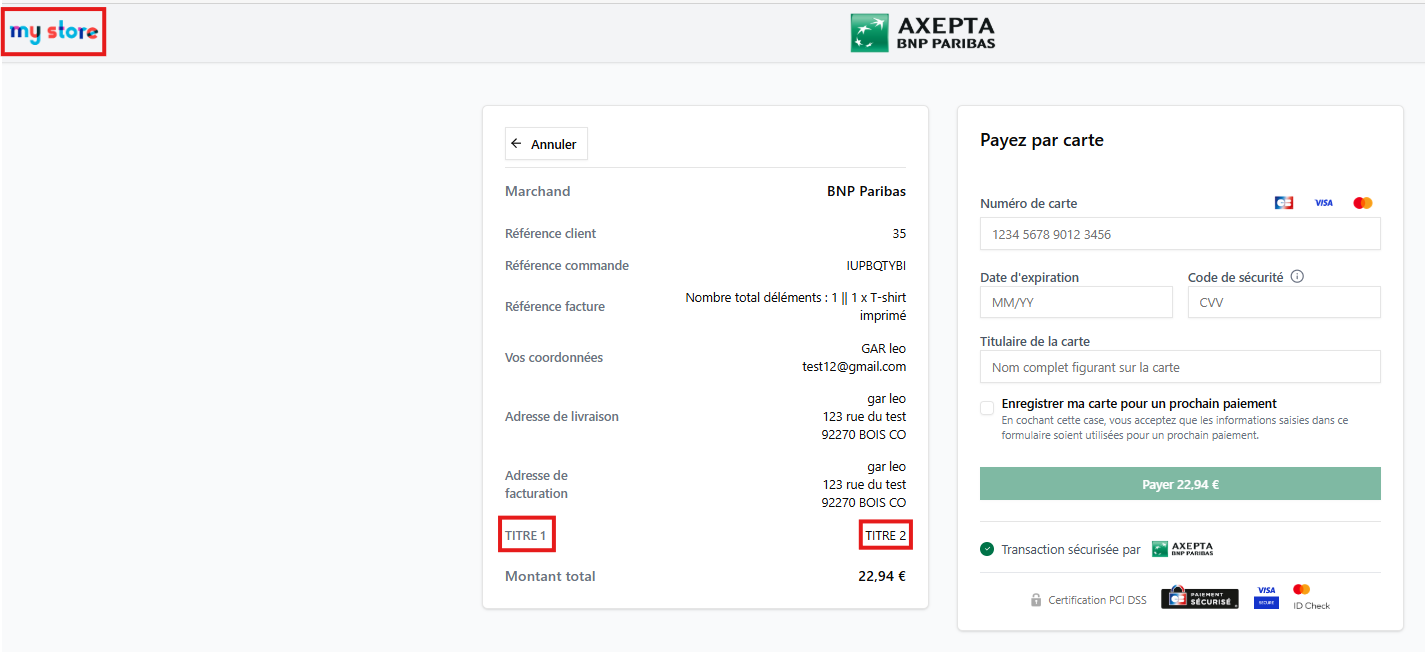
Allows configuration of the fields sent in the payment form during the redirection.
Creation of subscription product
installation du cron sur Prestashop
In order to automate the execution of certain tasks (such as triggering subscription payments), you need to configure a scheduled task (cron) on your server.
1) Access the cron configuration
On a Linux server, open the terminal and run the following command:
| Code Block |
|---|
crontab -e |
This command allows you to edit the list of scheduled tasks for the current user.
2) Add a cron task
Add the following line to the file:
| Code Block |
|---|
* * * * * php [PRESTASHOP_MODULE_PATH]/axepta2/run.php action=triggerSubscriptionPayment |
3) Define periodicity
The five asterisks (* * * * *) define the execution frequency:
* * * * * → every minute
You can adjust this frequency to suit your needs (for example, hourly, daily, etc.).
To help you generate an appropriate cron expression, you can use the following online tool: https://crontab.guru/
Creation of subscription product page
In Prestashop > "Catalog" > "Products", open the product to be sold as a subscription (or create a new one).
In the Modules tab > "Axepta BNP Paribas", click on the "Configure" button
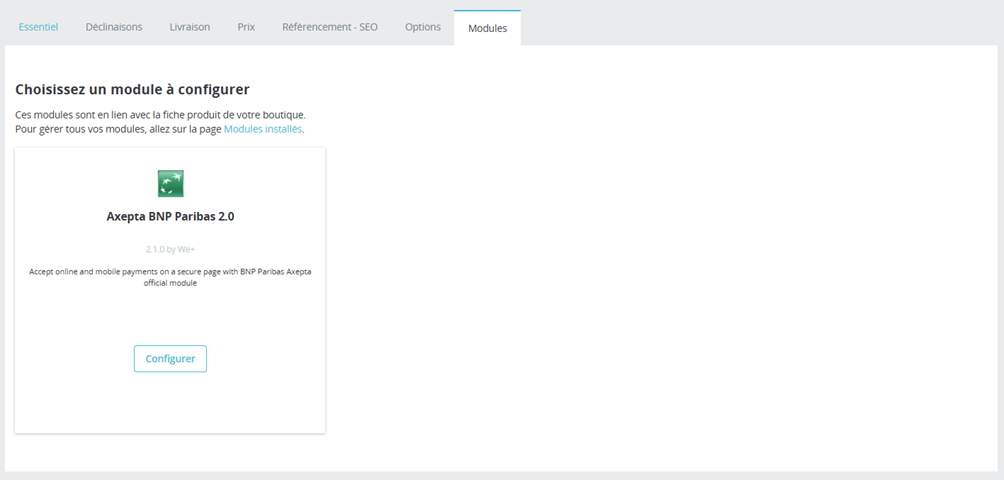
Activate a subscription on the product by filling in the various fields useful for configuring a subscription:
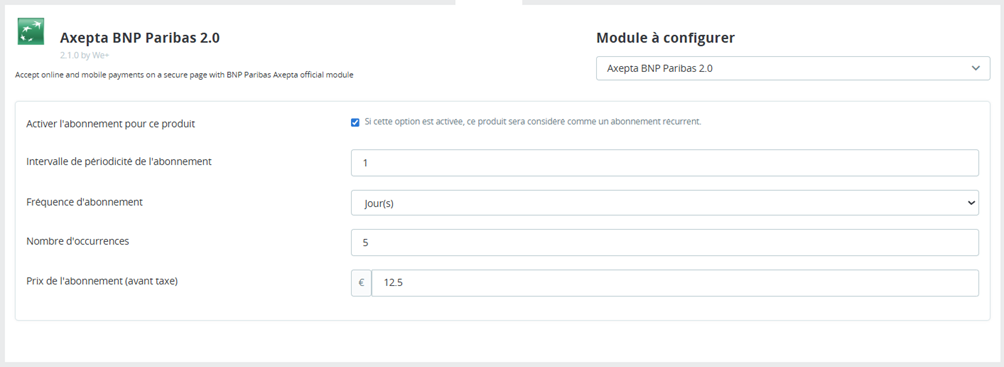
Billing frequency
Subscription periodicity interval:
- Specify the number for the interval (e.g., 1, 2, 3, …).
Frequencies:
- Day(s) / Month

Example:
1 + Month → billing every month
15 + Days → billing every 15 days
Duration:
- The number of occurrences equals the number of times the customer will be billed.
Example:
3 → 3 payments in total (according to the chosen periodicity)
Amount:
- Subscription price (pre‑tax): amount charged for each period
Save / update the product.
Dashboard
Order statuses have been added to help you view payments in test, demo, or production environments.

Please note that payments made in demo mode require being in Demo mode to be visible.
Manual Capture
Manually Capture Transaction
To manually capture a payment, you need to go to the list of transactions and click on the capture icon in the action column

Manage ongoing subscriptions
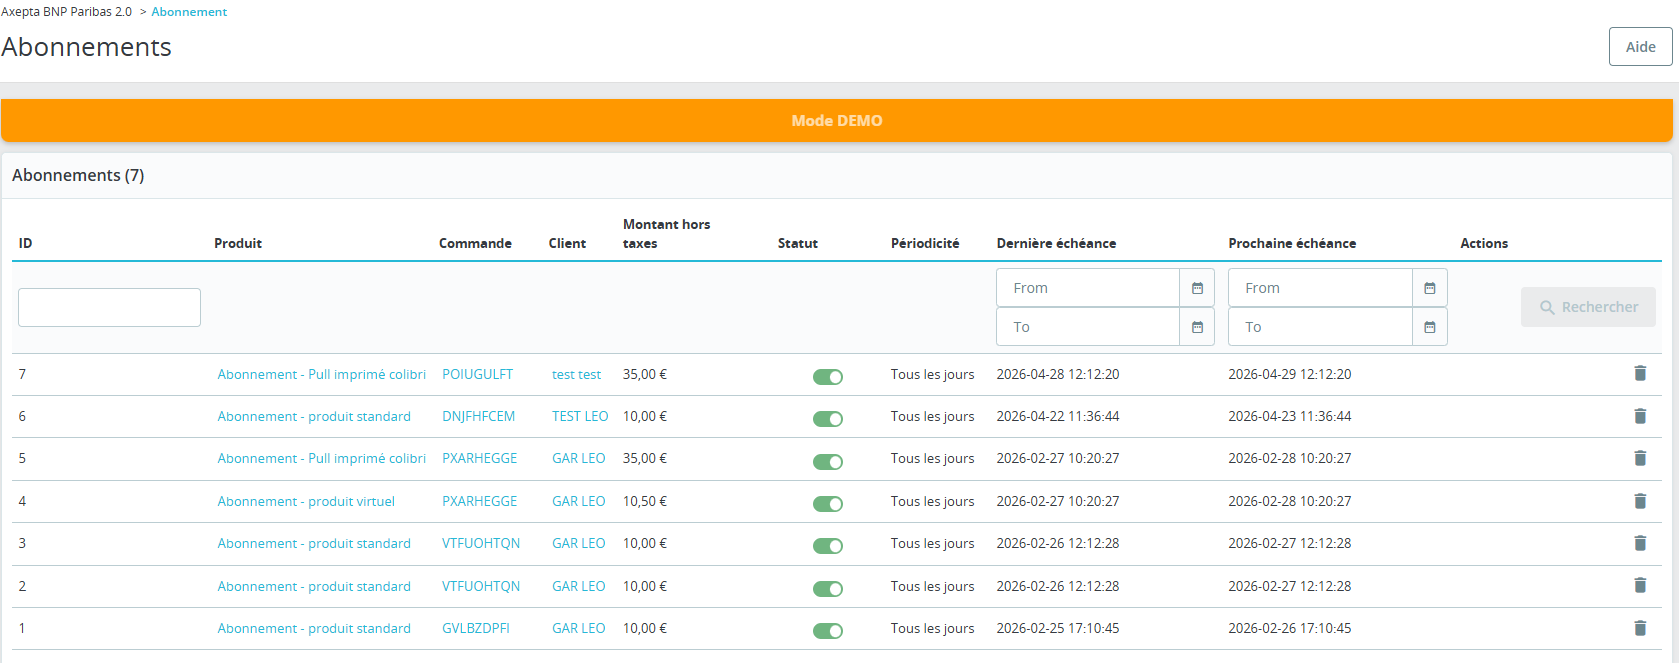
In the "Axepta BNP Paribas" > "Subscriptions" tab you will find the list of subscriptions:
- Subscription ID
- Subscription product
- Order
- Customer
- Amount
- Subscription status
- Periodicity
- Date of the last installment
- Date of the next installment
For each subscription line, an "Action" menu allows you to perform management operations.
Stop a subscription
Action : Stop a subscription
Effect :
- The subscription is set to stopped (no further automatic renewals).
- The customer will no longer be billed from that moment onward.
Refund a single installment only
Action : Refund a transaction without breaking the subscription chain
Effect :
- You refund the latest transaction (a payment) linked to the subscription,
- without stopping the subscription: future renewals remain scheduled and will continue
Logs
- .
Refund/ Cancellation
To refund a transaction, you must first select the store where the order was placed (top right of the screen). A refund can only be processed for a single store at a time.
Next, go to the customer's order in the transaction details (as previously indicated) and click on "Partial Refund" in the "Order" tab to create a gift certificate :
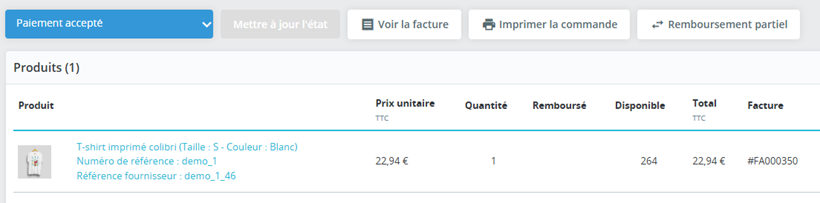
You will be redirected to the "Product" tab of the same page. Follow these steps to process a partial refund:
Select the amount to refund (either total or partial). The amount cannot exceed the total order amount, and the quantity cannot exceed the originally purchased quantity.
Click on "Partial Refund":
After saving the amount, while still on the order details page, go back to the product details:
Select the transaction to be refunded
Choose a gift certificate option
Click "Refund"
You can specify a partial amount if needed
The product will now appear as "refunded" in the order details
Full Refund
Multiple partial refunds can be processed. However, the total of all partial refunds cannot exceed the original order amount.
Cancellation
If the transaction has not yet been processed by the bank (captured), cancellation is possible.
Transactions list
All transactions made with the Prestashop Axepta BNP Paribas 2.0 module are consolidated in a table displayed.

| Info |
|---|
Notice : The uninstallation and reinstallation of the module will result in the deletion of the transactions. |
Subscription table

In the Axepta BNP Paribas tab > Subscriptions: find the list of subscriptions:

- Subscription ID
- The Subscription Product
- The order
- The customer
- The amount
- The status of the subscription
- Periodicity
- The start date
- The date of the next execution.
You have the option to change the status of the subscription to turn it on or off.
Stop a subscription
Action: Stop a subscription
Effect:
- The subscription goes to stop (there will no longer be automatic renewal).
- The customer will no longer be charged from that point forward.
Font Office
Checkout Page Display
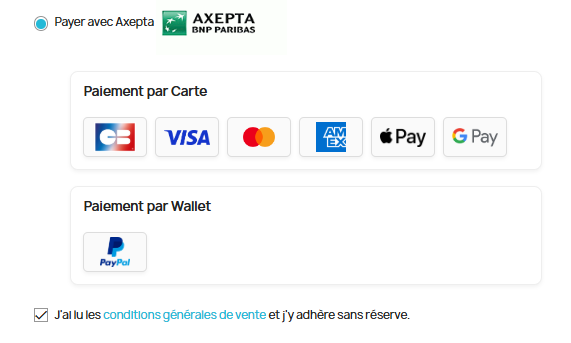
Payment methods are displayed in designated blocks.
Additional payment options are accessible by selecting "More payment options," which only appears when applicable.
Payment Page Redirection Display