
...
2. On the "Module Manager" tab (from the same menu), type "Axepta" in the search bar and find the "Axepta BNP Paribas " plugin.
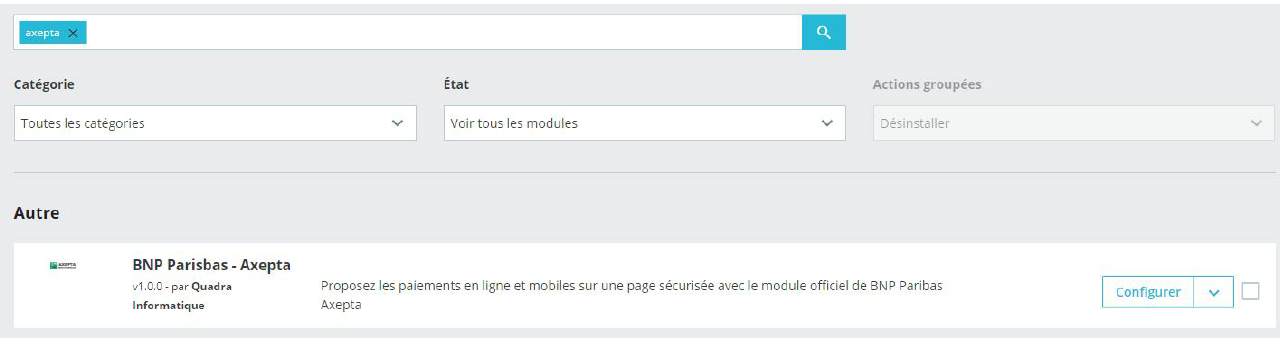
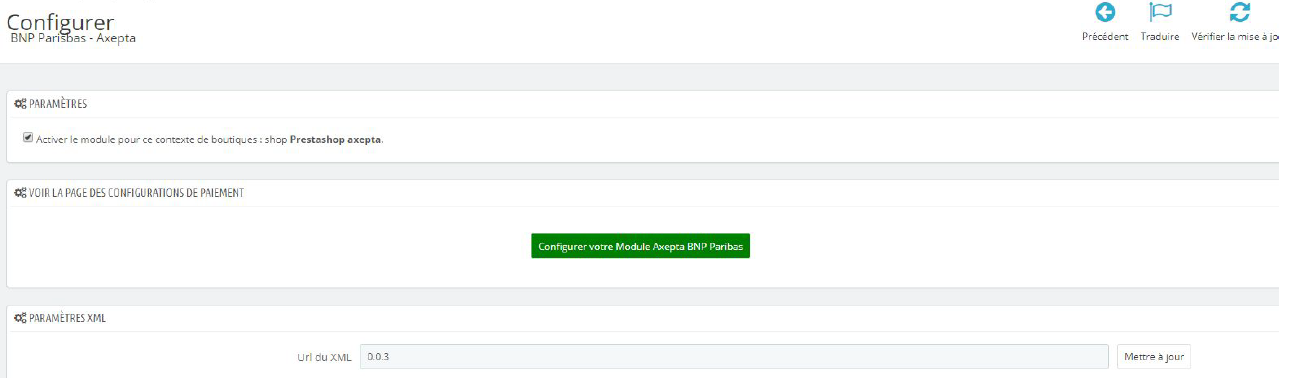
3. Click on « Configure » button to start. This configuration screen allows you to configure the generic parameters of the shop, especially if it's a "multi-shops".
...
Then, click on “ Configurer your plugin Axepta BNP Paribas” to configure your payment methods (details on the next section).
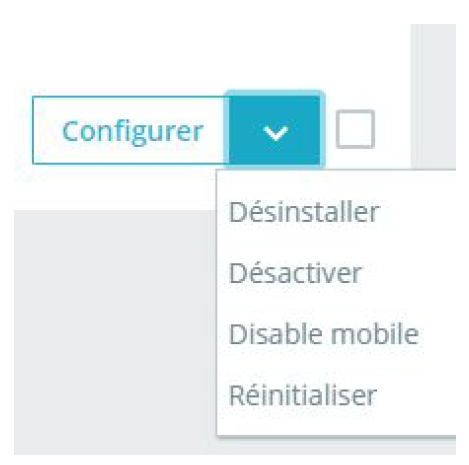
4. Once installed, you can always uninstall/disable/remove a plugin.

Global configuration of the plugin
...
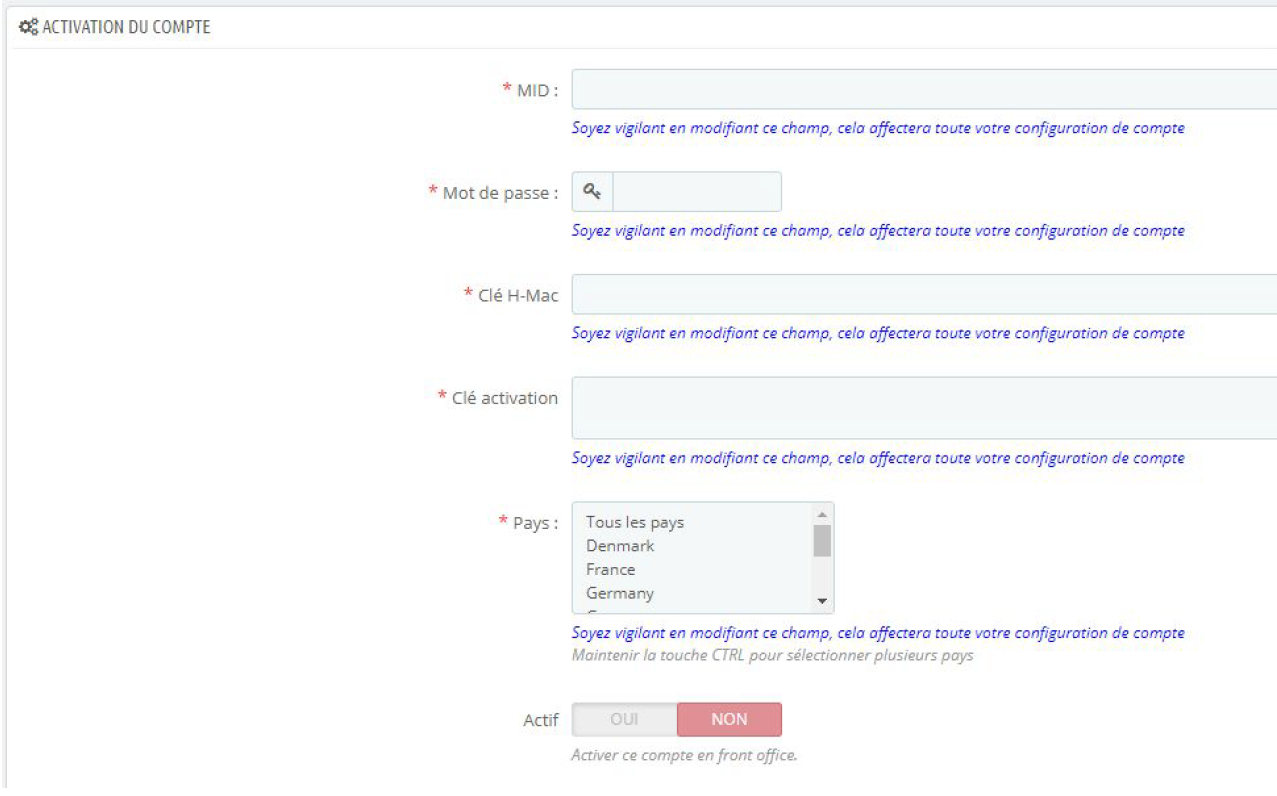
To create a new configuration, click on the "+" in the top right corner:

Then, fill the data provided by BNP Paribas in the following fields and choose to activate or not your account then click on "save".
Then indicate on which shop(s) the plugin should be applied :

The configuration of your first MID now appears in the global list :

You can now choose the different payment methods to activate on your shop by clicking on the "Update" button. The associated tab will appear.
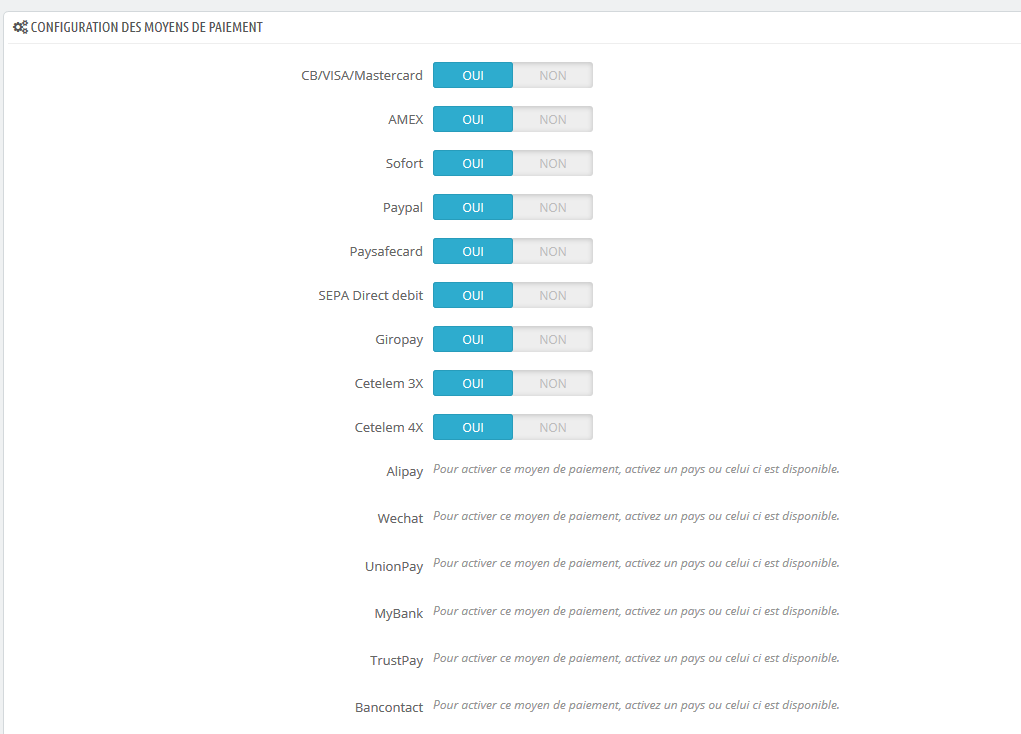
The payment methods displayed are those corresponding to your activation key.
...
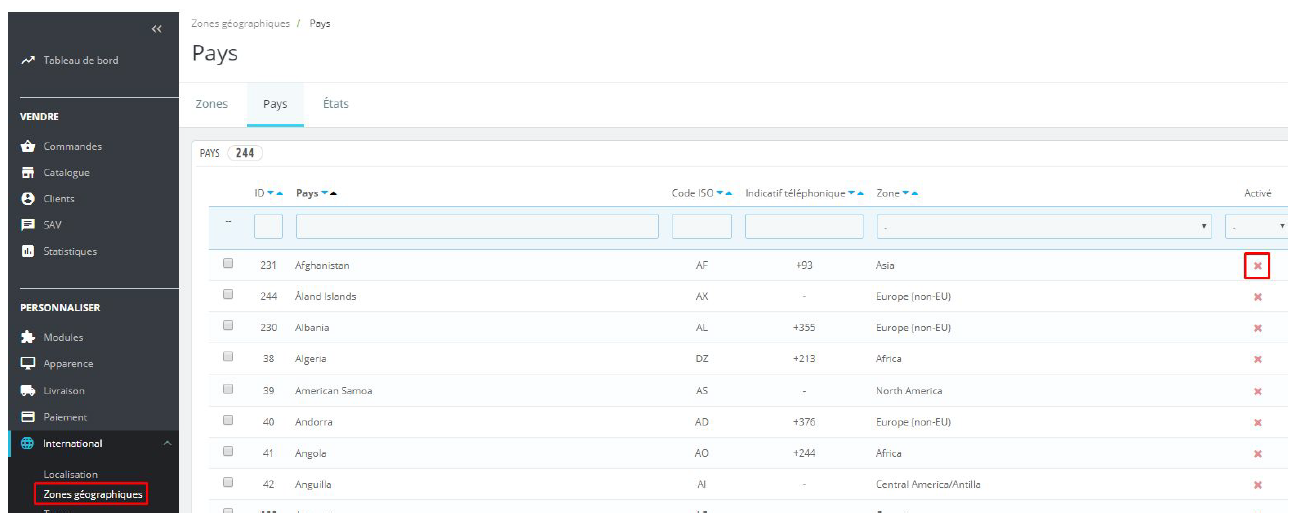
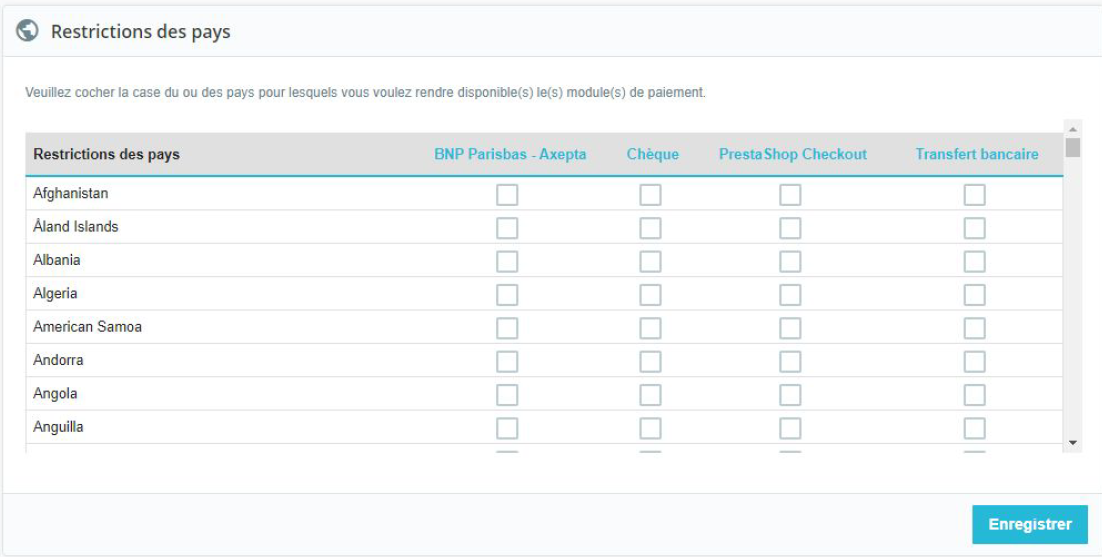
Some payment methods may appear in frey if the country or countries in which the payment method is authorized are not activated in your backoffice. To activate the countries, you have to go to the "International" tab > "Geographical zones" and activate the desired countries by clicking on the small red cross :
You will have to go through the menu "Modules" > "Axepta payment configuration" to go back to the payment methods configuration :


Click on "Update" and go to the bottom of the screen to continue configuration your account's options.

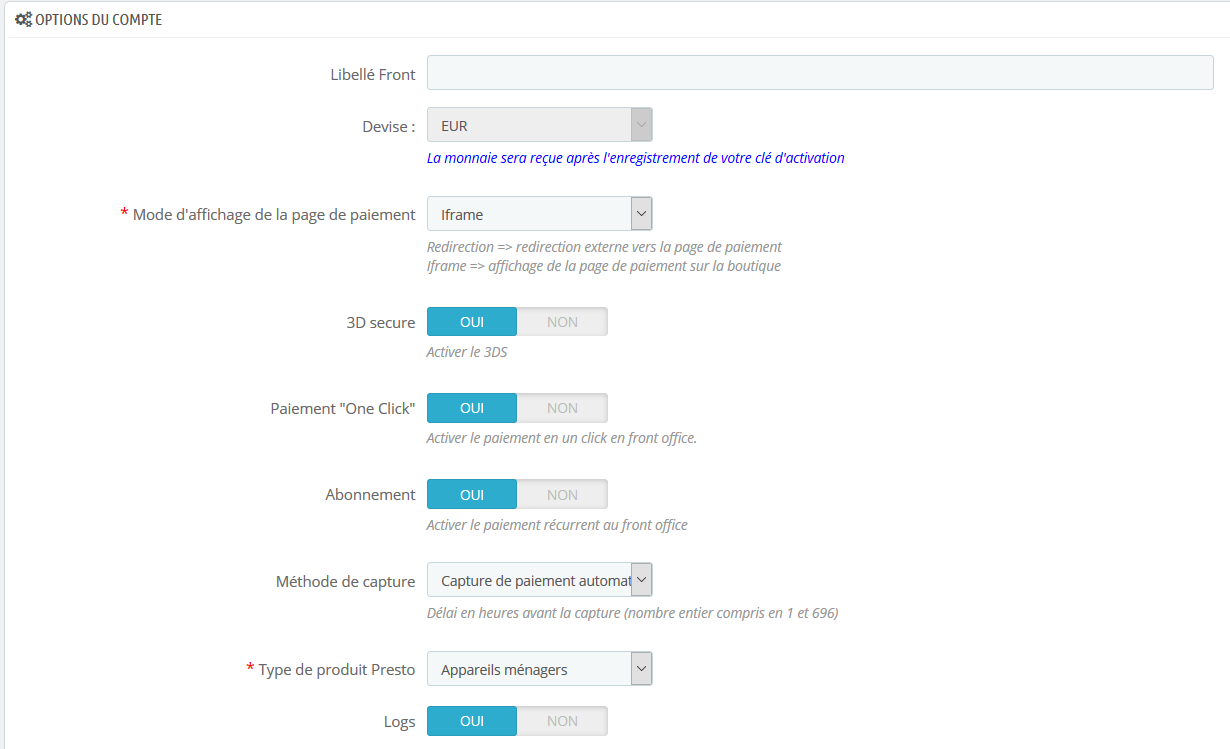
Country :
Front Label:
This represents the field you want to customize for your customers to pay. Example : "Pay with AXEPTA BNP Paribas"You can choose to activate the account either in all countries or in manually selected countries by holding down the ctrl key.
Currency :
The currency indicated is the currency of your activation key. This data cannot be modified, it is only shown as an indication for the management of the account.
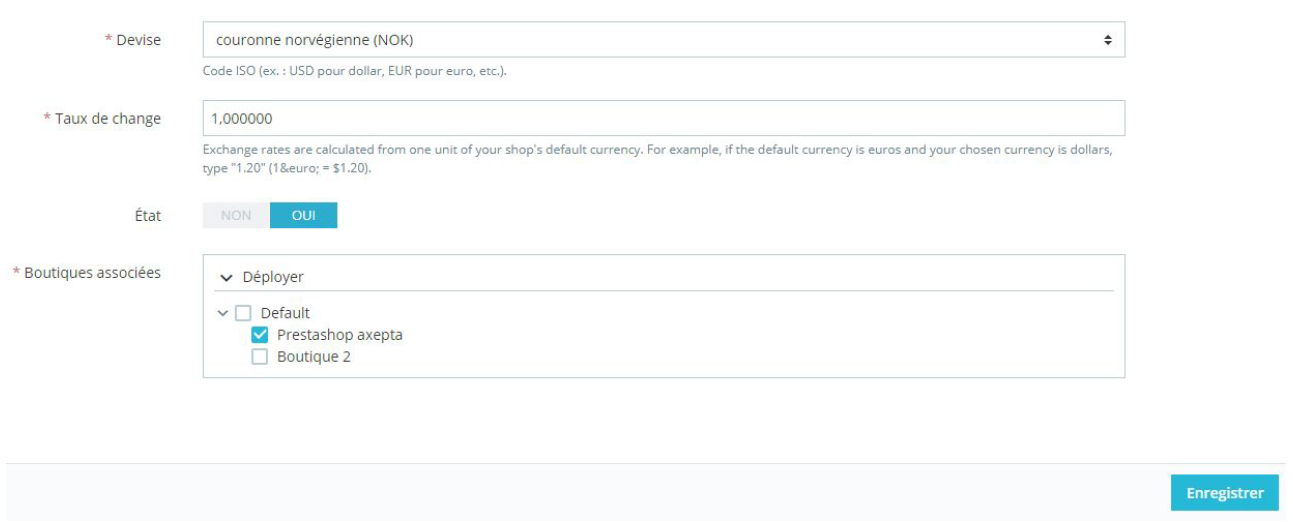
Please note that you need to make sure that the currency is enabled beforehand in the Prestashop backoffice. To do this, go to "International" > "Location" > "Currencies" > and click on "Add a new currency":
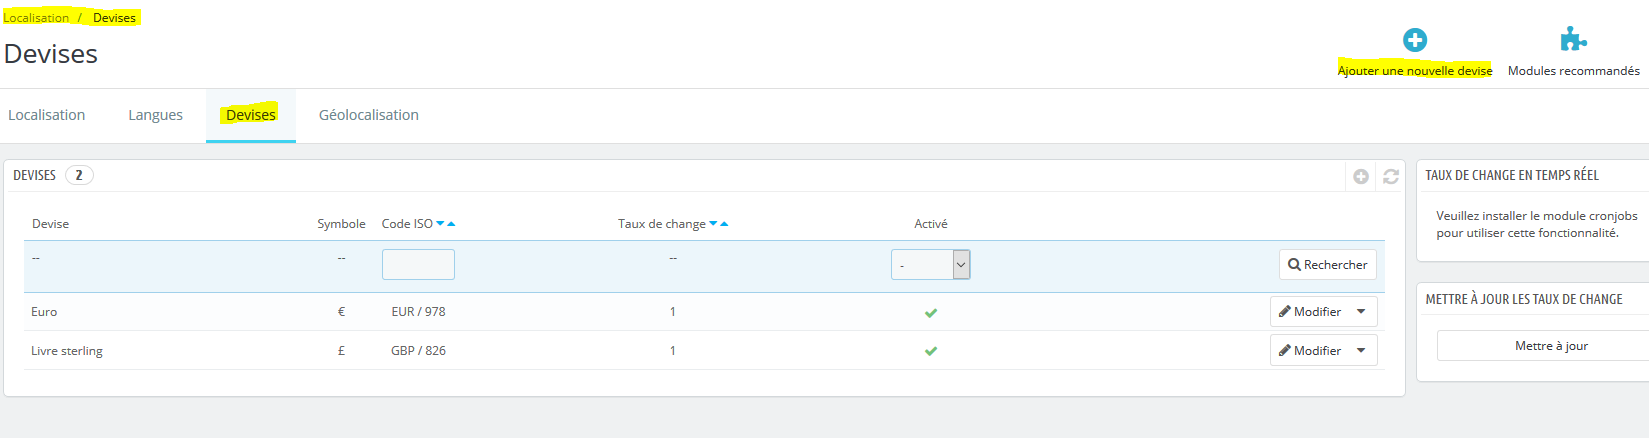
For example:
Rendering mode :
...
To activate the different payment methods, you must go to the "Payments" tab > "Preferences" > and check "BNP Paribas Axepta" for all the currencies you would like to configure and then click on "Save" :
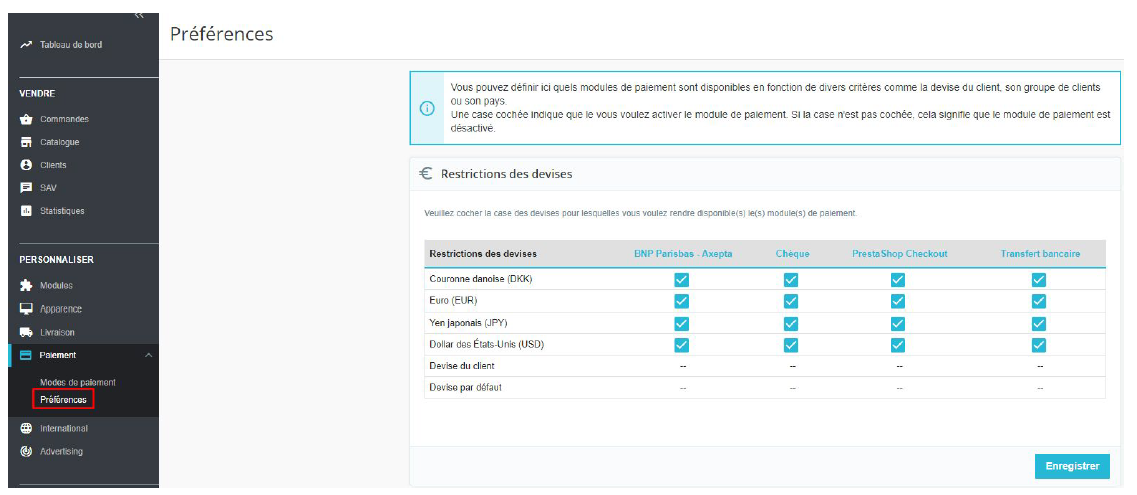
Still in "Payment" > "Preferences", you can also restrict the payment method to some specific currencies.
One-click payment
...
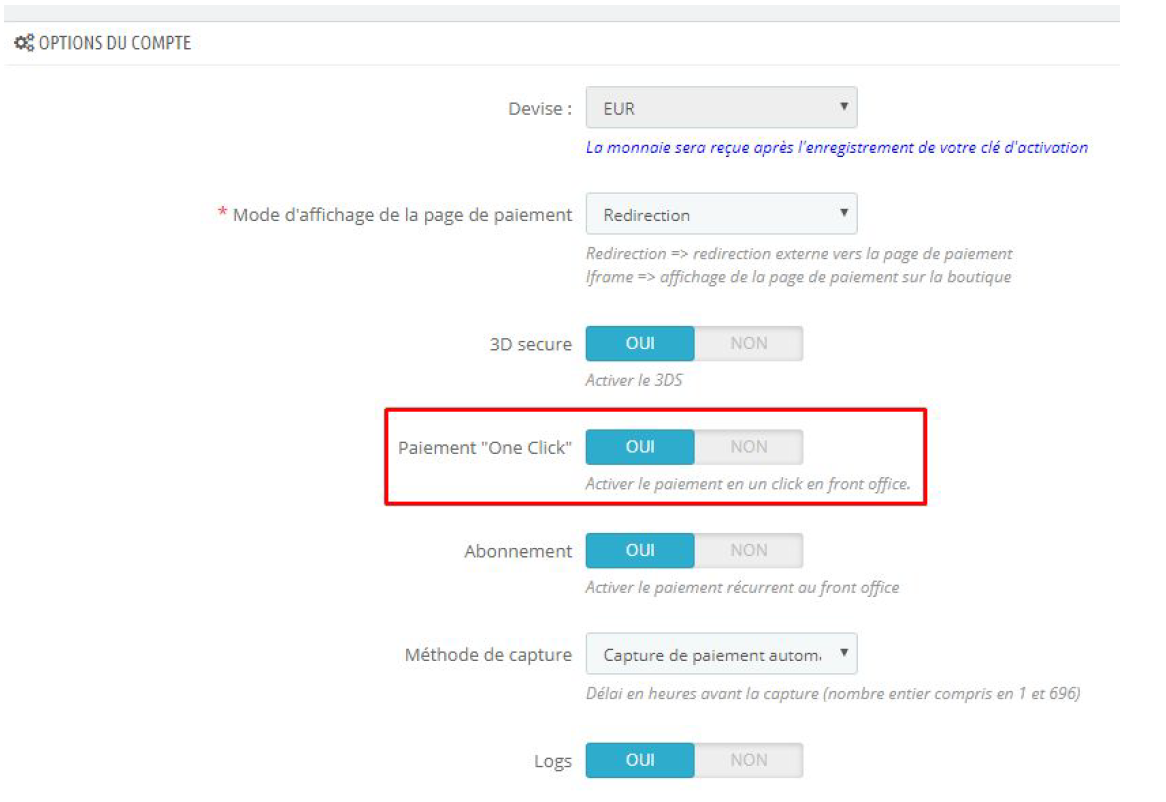
To enable this functionnality, you only need to make sure that you checked the « Oneclick payment » button in your account's options ( "Modules" > "Configuration paiements Axepta" > "Modifier" the MID you would like to configure)
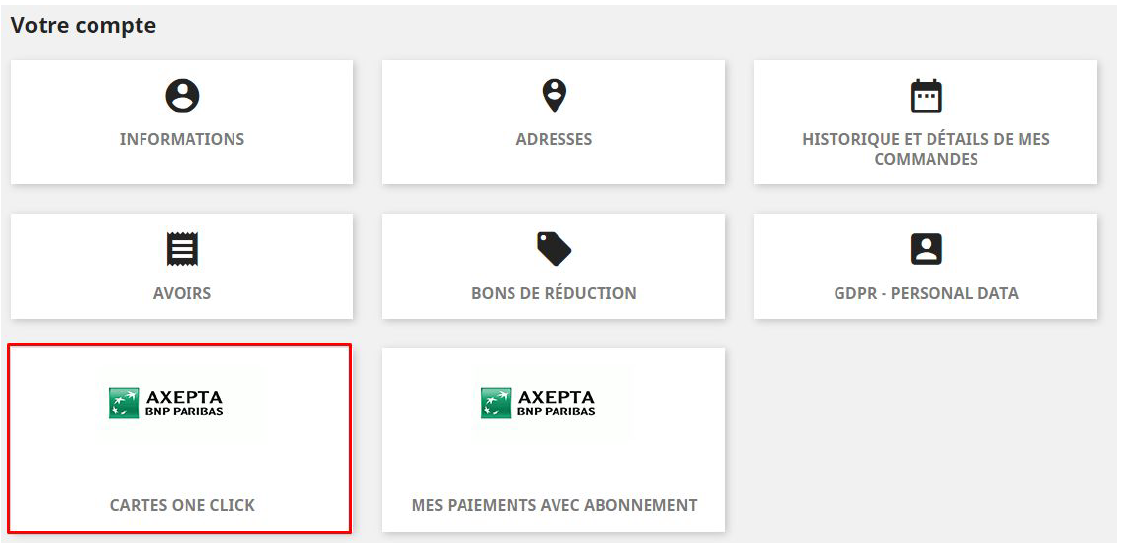
The customer will be able to manage the saved cards in his account view by clicking on “One click cards” :
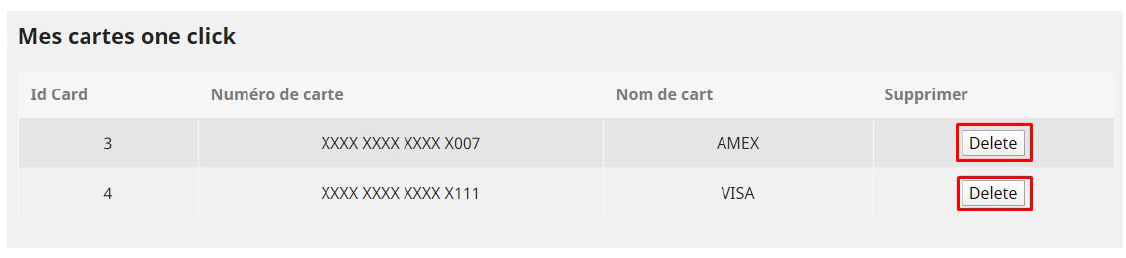
The list of saved cards will be displayed and the customer will be able to delete one or many card just by clicking on the "delete" button.
Subscriptions
...
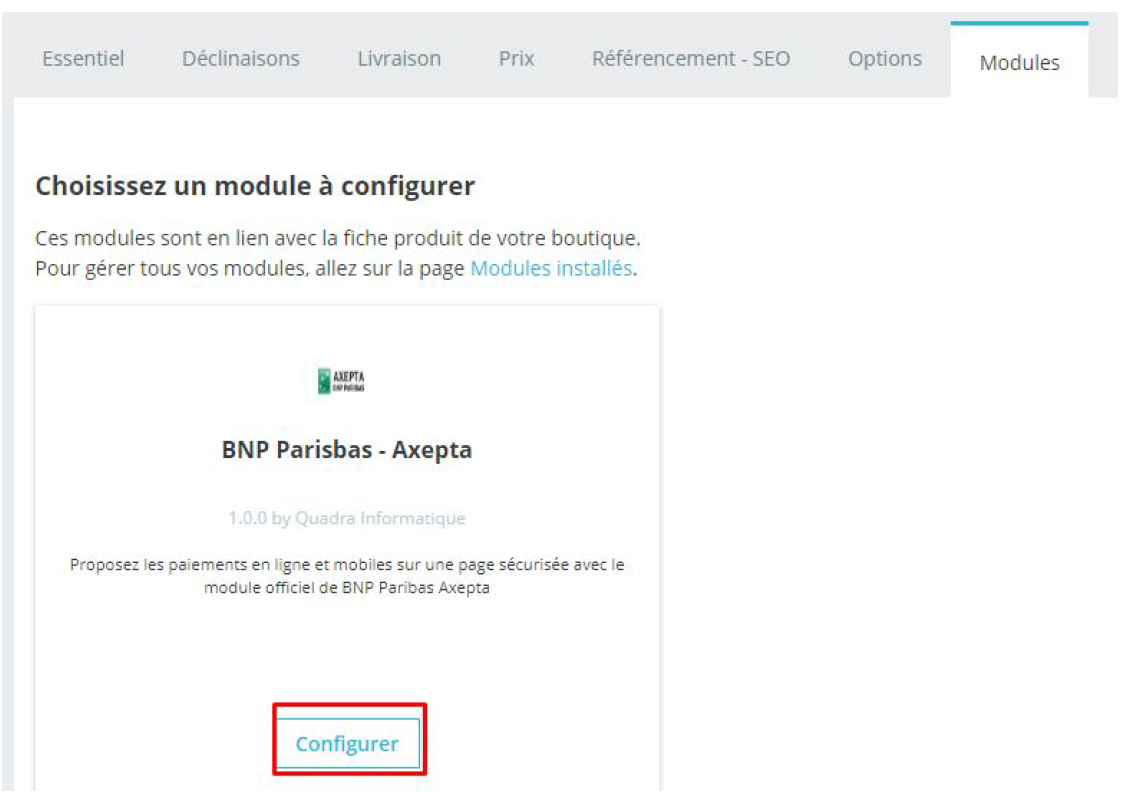
On the product sheet (when you click on a product's name), go to the "plugins" tab and click on "Configure" :
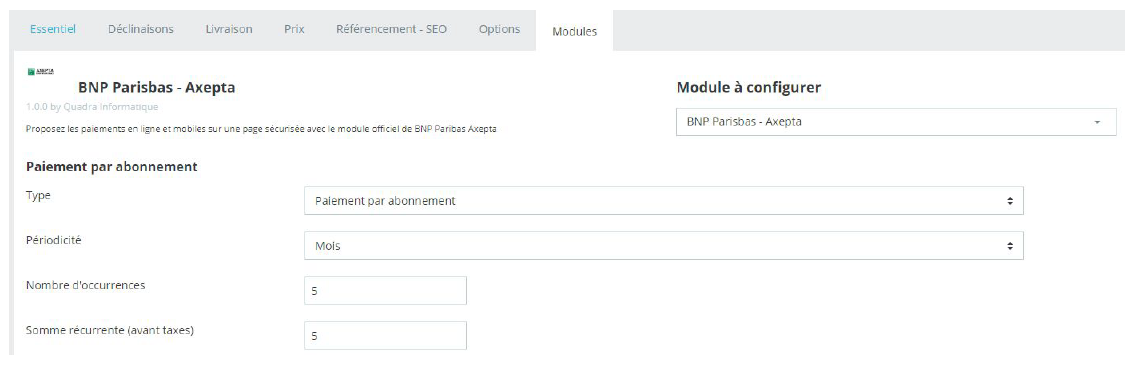
You can configure an item by adding the following information:
- Type : indicates if the item will be paid by subscription or standard payment.
- Periodicity : indicated the type of subscription (monthly or daily)
- Interval occurrence : Number of times that the payment will be proceeded. If this value is not filled, the occurrence is unlimited.
- Recurring amount : Indicated the amount of the item in subscription, so this value can be different from the initial price of the item. This value represents the value that will be withdrawn in the future transactions.
Subscriptions management
...
● Date of the next payment
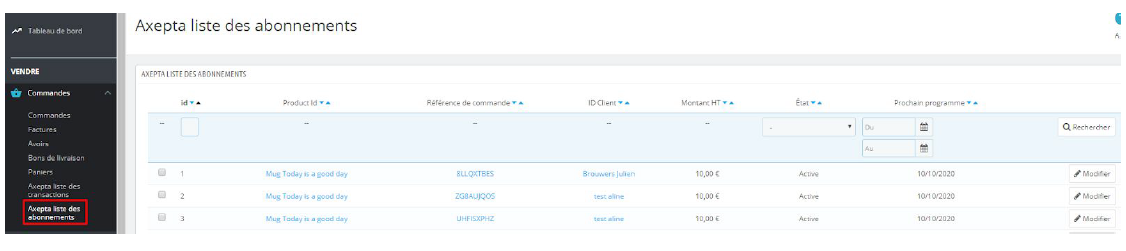
Available actions in this section are:
...
● Check details about the customer

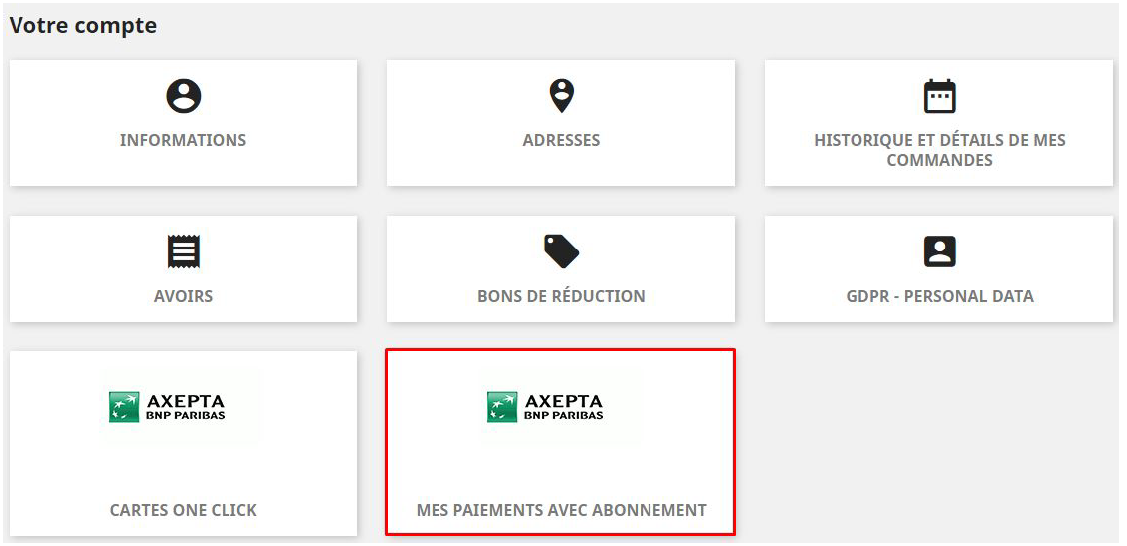
Subscriptions management (user view)
The customer can manage his subscriptions in his user account by clicking on the specific box "My payments by subscription"
The customer can disable or enable again a subscription directly by clicking on the "disable/enable" button
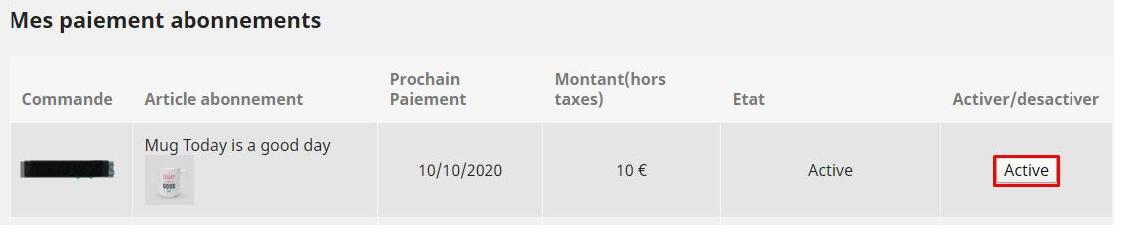
The subscription statut is updated automatically in the backoffice.

Transactions management
...
● Status (success, failure, authorization..)
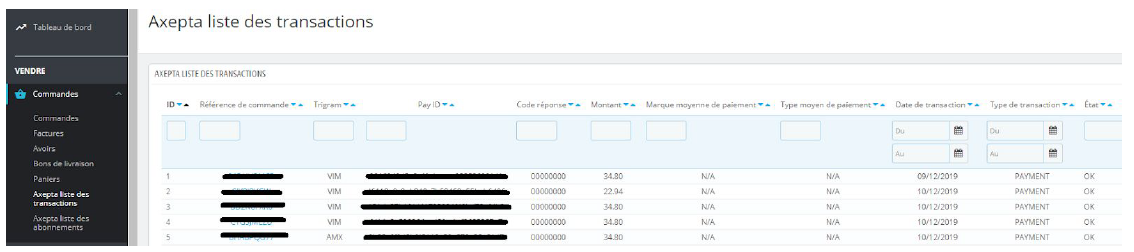
When you select an order, you get more information about the payment (delivery address, customer's information, refund/cancellation options... )
...
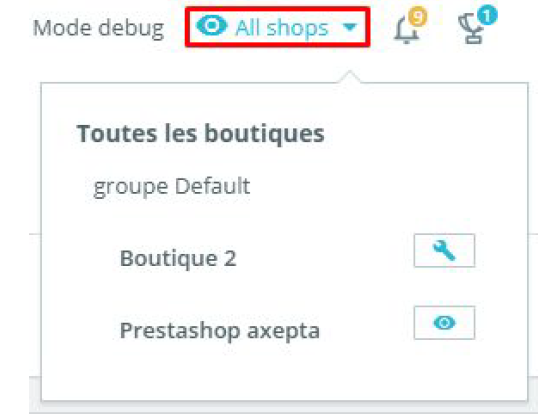
To make a refund, you need, first, to select on which shop the order was made (top right side of the screen).
Then, choose the order you would like to refund (in the details of the transaction,) and click on “Remboursement partiel” in the tab "order" to create a voucher.
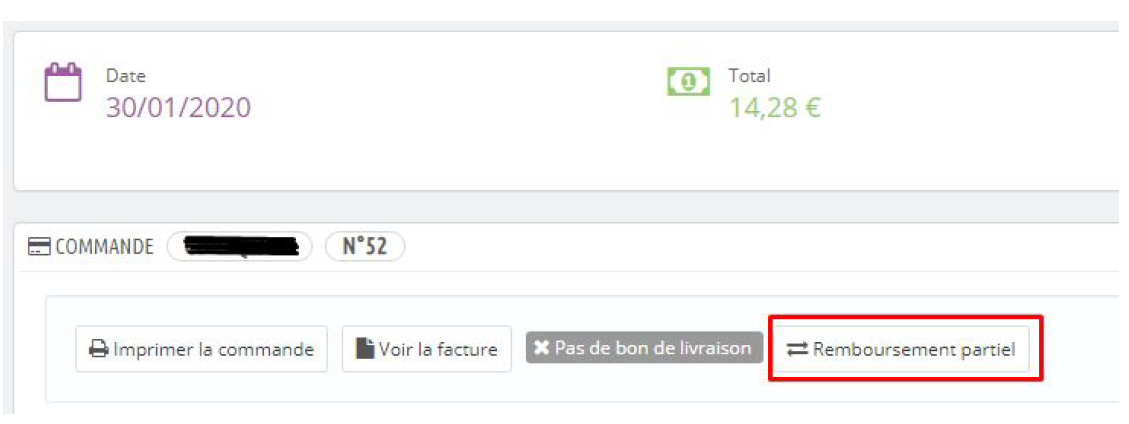
You will be redirect to the tab "product" on the same page.
...
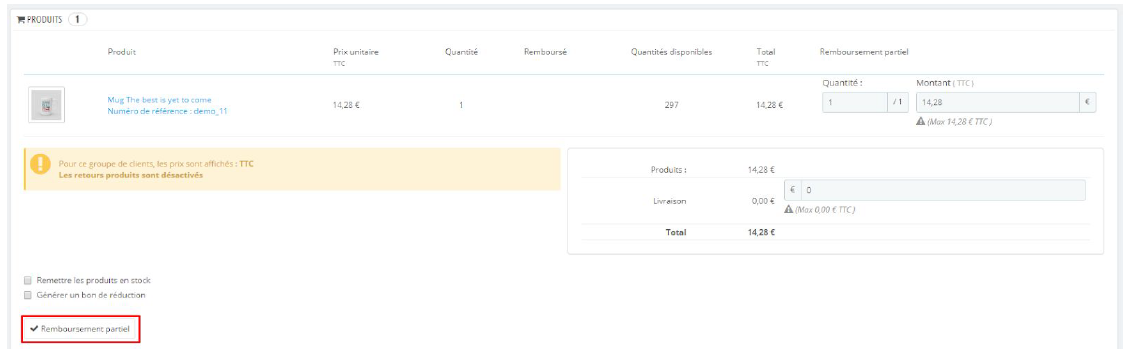
Then, click on “Remboursement partiel” :
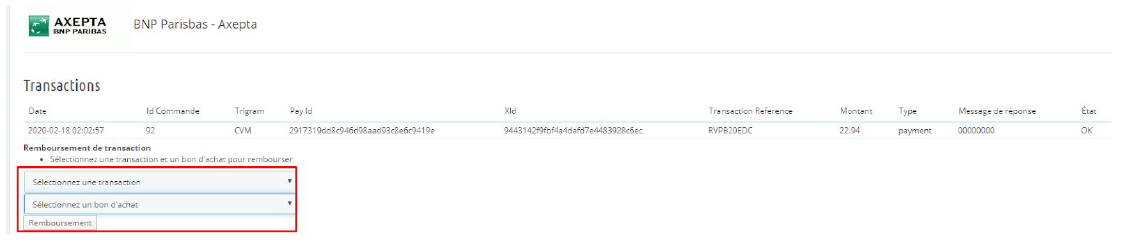
Once the amount saved, and still in the details of an order, you will be able to :
...
- Select the voucher
- Click on "refund".
The product appears in the details of the order as "refunded"

When an order is fully refunded, you can update the status of this order by clicking on "refunded" > "update status" on the top of screen.

Description of payment methods
...